If you’re deciding between an attached pergola and a freestanding pergola, don’t start with style. Start with risk.
To explore product families while you decide, start with shade structures. When you’re ready to scope the project with someone who can handle approvals and build details, find a certified contractor near you.
Attribute | Attached pergola | Freestanding pergola |
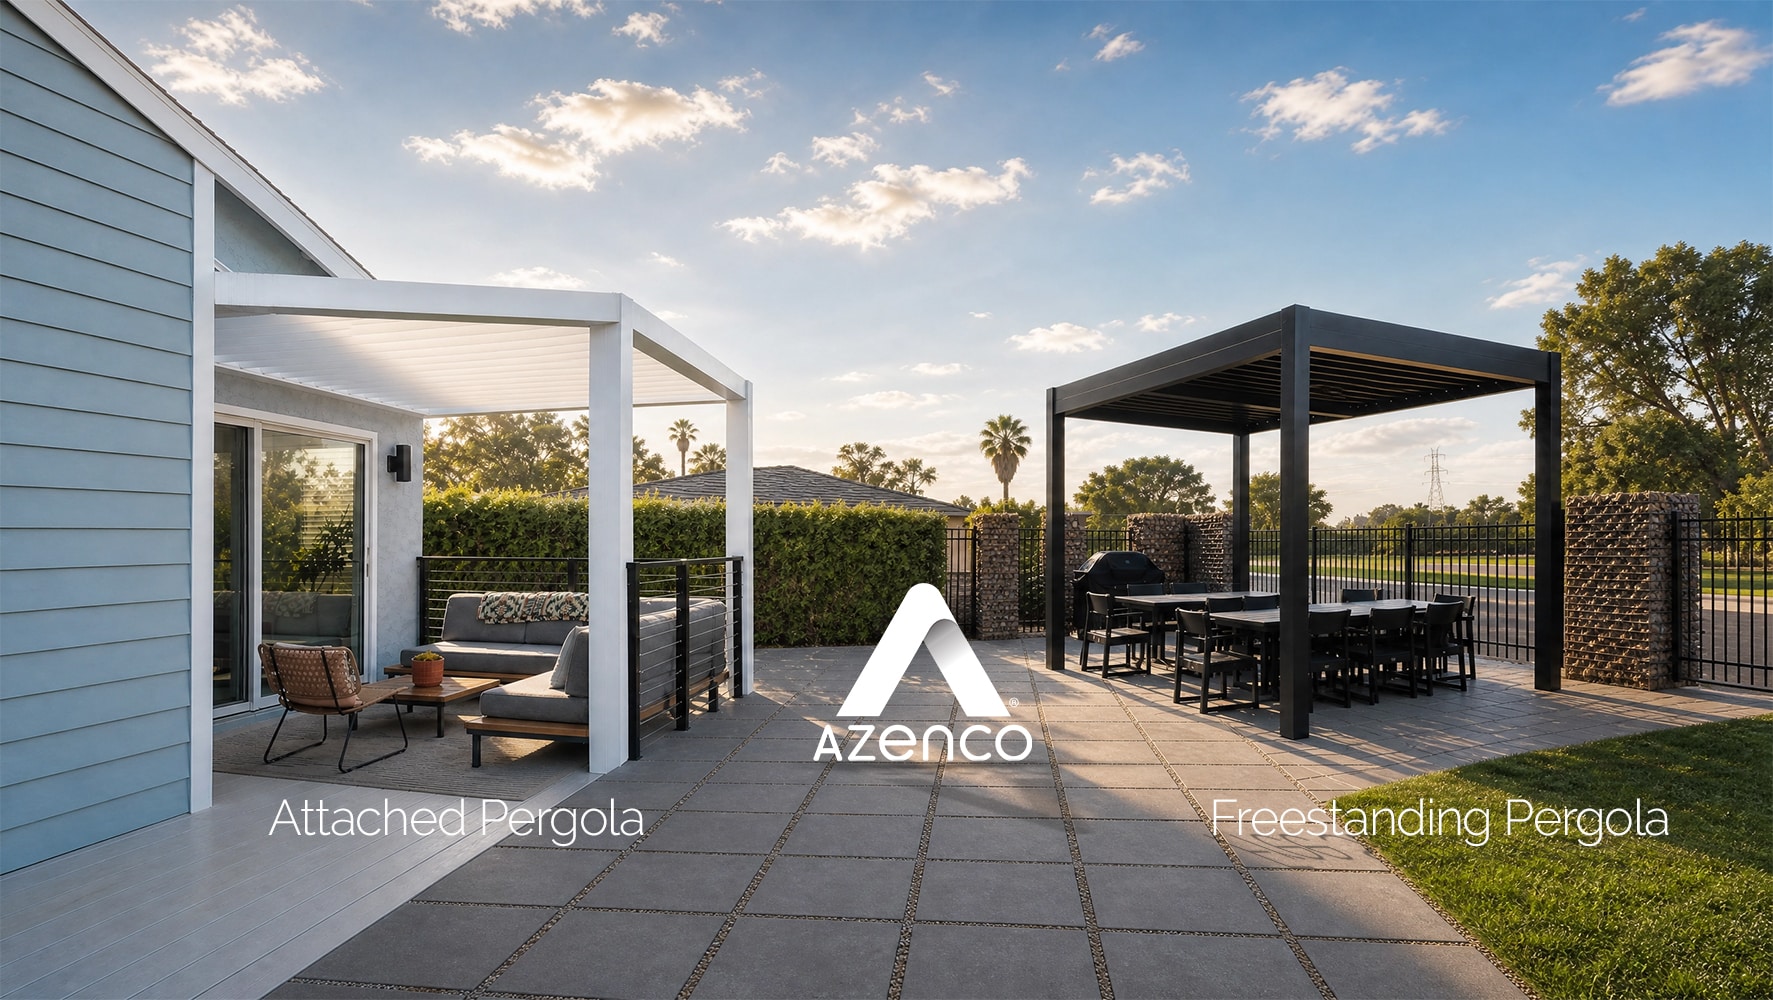
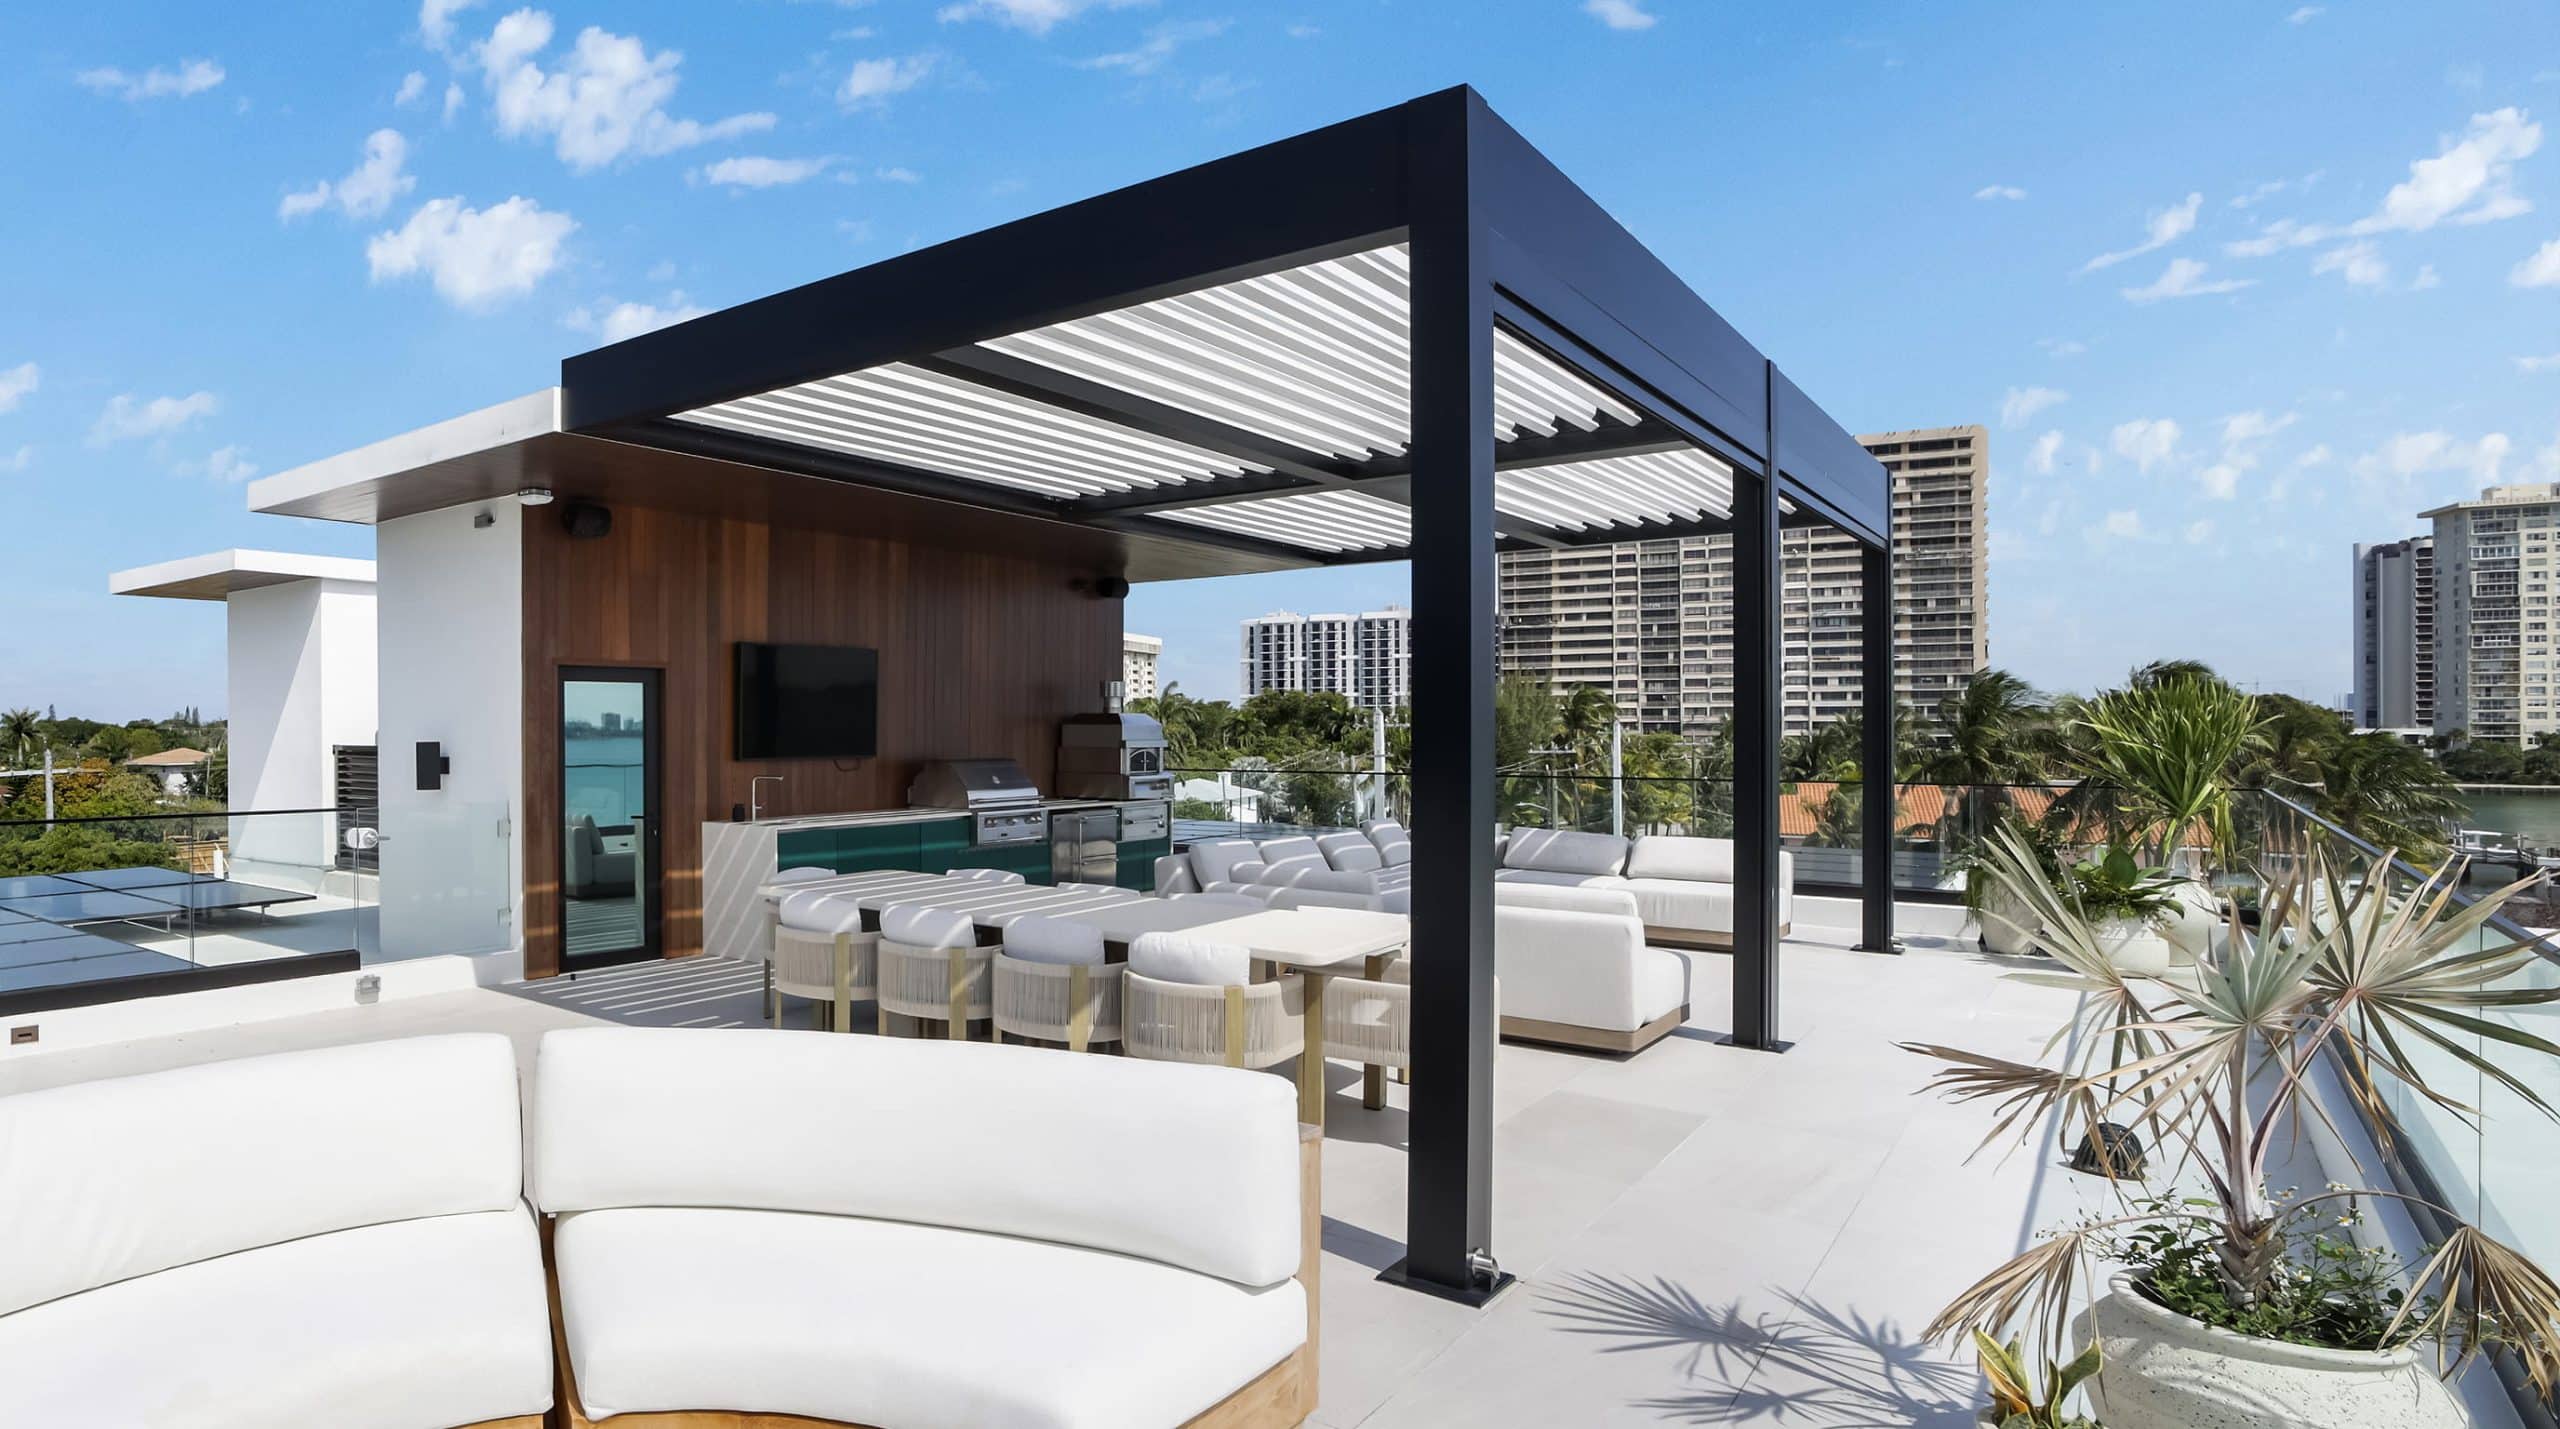
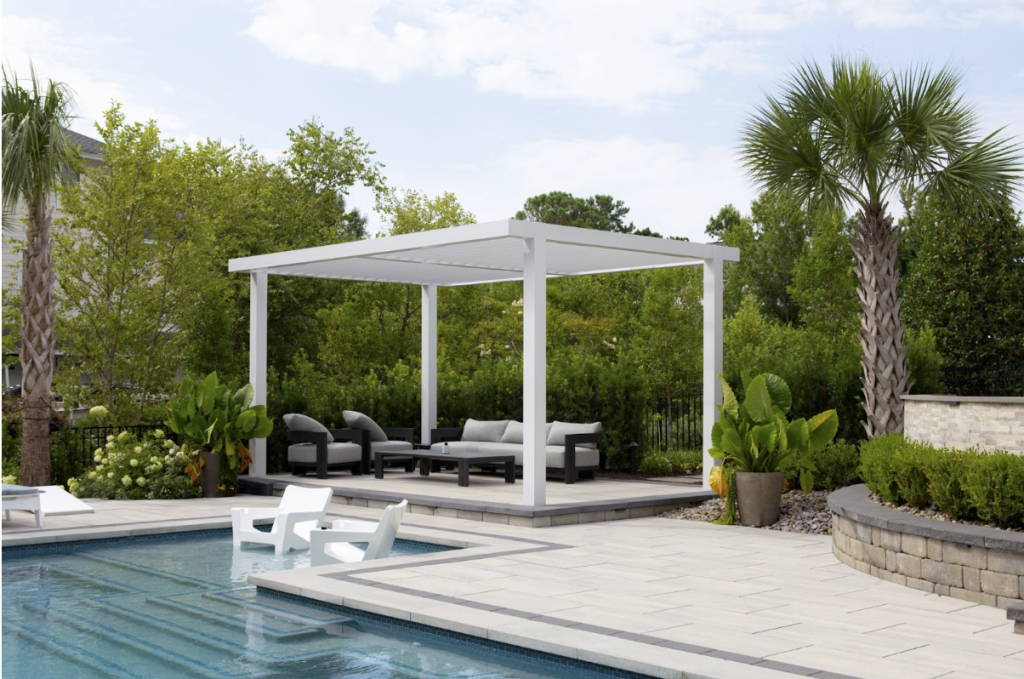
Best for | Patio / pool deck / outdoor kitchen where you want a seamless transition | Creating a separate destination zone (lounge, pool, spa) anywhere on the property |
Biggest structural risk | Weak connection to the house (ledger/header/rim joist) and missed sealing details | Under-anchored posts or insufficient footings in exposed wind conditions |
Biggest water-management risk | Water intrusion at the wall connection and conflicts with existing gutters | Runoff mismanagement (pooling, splash, waterfall edges) if slope/gutters aren’t planned |
Typical permit friction | Higher—treated as an extension of the home and often requires tighter review and permitting | Permits required in most cases, but wall-penetration complexity is removed |
Build complexity | Correct attachment method for wall type plus flashing and drainage coordination | Correct anchoring method for surface type (slab/deck/soil/pavers) plus exposure planning |
Fast risk reducer | Specify flashing, drainage path, and who owns sealing details | Specify anchoring method, footing approach, and exposure assumptions |
If baseline explanation is needed, Azenco Outdoor’s overview of pergola attached to the house vs freestanding is a good starting point.
Use Azenco’s attached vs freestanding overview to keep the conversation focused on connection method and water risk.
For anchoring basics, Azenco Outdoor’s guide on whether a pergola needs to be anchored is the fastest alignment tool.
Water management is not a detail. It’s a design requirement. Start with slope, then define how water is collected and discharged.
Azenco Outdoor’s drainage guidance provides two practical thresholds you can use in planning:
If you need the full breakdown, use Azenco Outdoor’s guide to pergola roof slope for drainage.
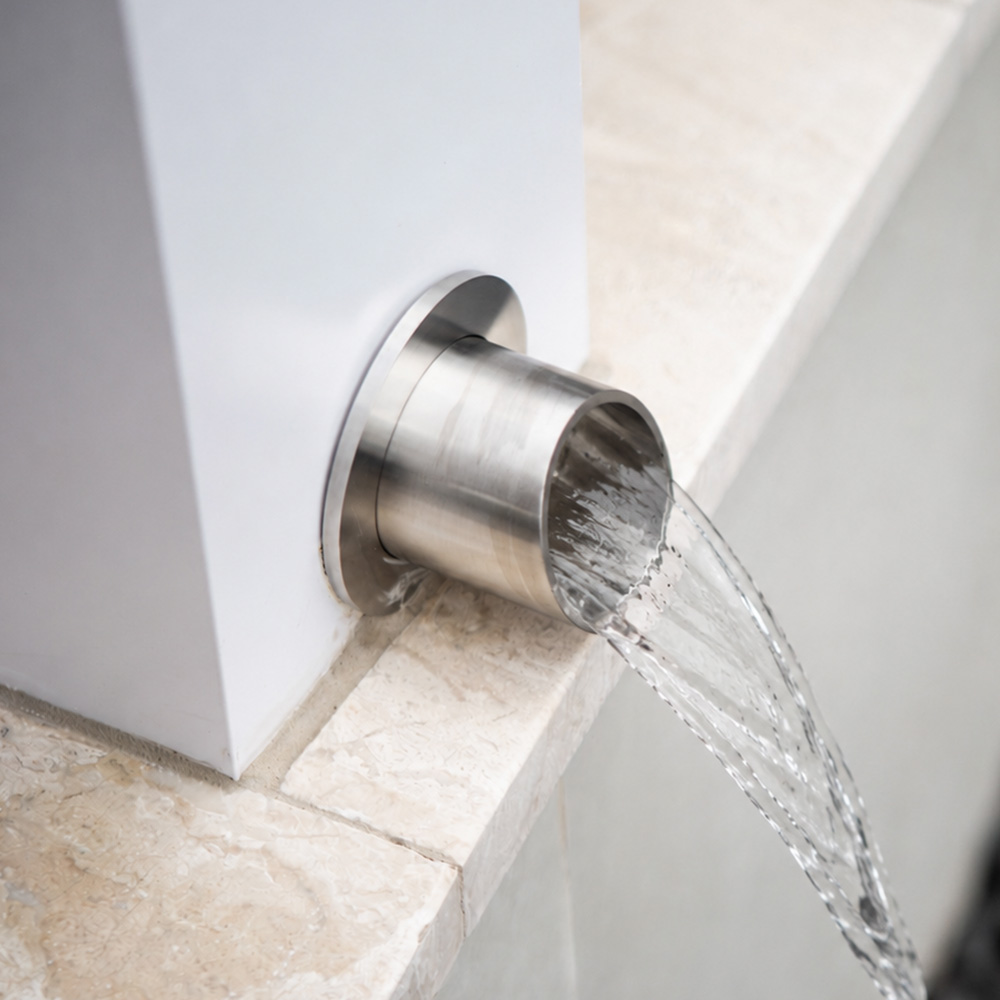
Azenco Outdoor describes a hidden gutter approach where water is directed into integrated channels. In their explanation, louvers extend over the integrated gutter and fold down onto a rubber gasket to create a sealed perimeter when closed.
For the underlying concept and why it matters, see Azenco Outdoor’s explanation of the pergola gutter system.
Attached pergolas often intersect with existing house gutters and roof drainage. Azenco Outdoor’s attachment guide outlines two approaches: a riser-bracket method that penetrates the home gutter, or a structural gutter system that replaces the home gutter and keeps roof drainage separate from pergola drainage.
Use attaching a pergola to your house explained to pressure-test how your project will handle existing gutters.
If you attach to the house, you’re interacting with the building envelope. That’s where sloppy work becomes expensive.
Azenco Outdoor defines flashing as a thin strip of metal layered into joints to waterproof connections. For attached installs, it’s most relevant where the ledger meets the exterior—see this flashing definition for ledger connections.
For attached pergolas, flashing is most important at the connection point between the structure and the home. Proper flashing helps prevent water from entering behind the siding or into the wall cavity. Always review the attachment details and follow local code requirements for the specific project (details in Azenco Outdoor’s attachment guide).
Azenco Outdoor’s attachment guide notes that the right fasteners depend on wall construction and lists common options such as carriage bolts, lag screws, and Tapcons (see the hardware overview here).
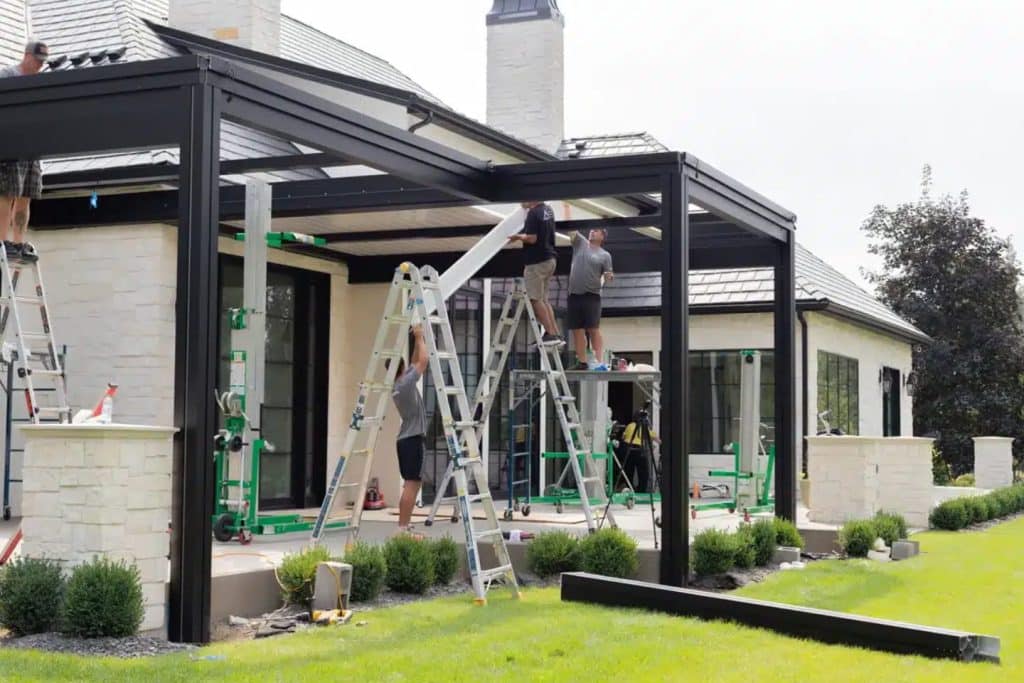
Whether attached or freestanding, the structure must be secured to resist movement. Azenco Outdoor’s guidance explains that most pergolas should be anchored for safety and stability and that the right method depends on the surface (concrete slab, soil, pavers) and exposure—see Azenco Outdoor’s anchoring requirements and methods.
Permits aren’t paperwork. They’re a risk filter. Azenco Outdoor’s pergola permit guide explains that requirements vary by jurisdiction and can include engineer-approved plans and, in some cases, separate structural and electrical permits.
Our brochure is packed with inspiration, design options, and key details to help you make the right choice.
Use this section to prevent the most common mismatch: choosing a roof type before you’ve defined drainage, exposure, and permit constraints.
Decide attached vs freestanding using the decision table.
If you’re using a ledger connection, flashing should be part of the plan. Azenco Outdoor defines flashing as a thin strip of metal layered into joints to waterproof connections where the ledger meets the exterior (Azenco Outdoor’s flashing definition).
Azenco Outdoor describes an integrated gutter approach where louvers extend over the gutter and fold onto a rubber gasket to create a sealed perimeter when closed. The design focuses on routing water cleanly instead of relying on add-on external gutters (Azenco Outdoor’s gutter explanation).
Azenco Outdoor’s wording is careful: louvered pergolas aren’t fully waterproof, but quality designs can be highly weather-resistant. Azenco Outdoor cites gapless louvers and integrated gutters designed to create a tight seal when closed (Azenco Outdoor’s waterproof vs weather-resistant guide).
In most cases, yes. Azenco Outdoor states anchoring improves safety and stability, and unanchored pergolas can move or topple in wind. The correct method depends on the surface and site exposure (Azenco Outdoor’s anchoring guidance).
Often, yes—especially where local code requires it for structural stability. Azenco Outdoor notes permitting and code requirements vary and can require engineer-approved plans; footings are commonly part of that compliance conversation (Azenco Outdoor’s permit guide).
Many jurisdictions require permits for pergolas, and requirements vary by zoning and local rules. Azenco Outdoor’s permit guide notes that many areas require approval of plans before construction begins and may require engineer-reviewed documents (Azenco Outdoor’s permit guide).
Treat this as a technical build: confirm permit requirements, define drainage and anchoring, then involve a qualified installer. To move fast without guessing, find a certified contractor near you.
If you’re still comparing systems, start at shade structures. If you’re ready to scope the project and avoid permit or drainage surprises, find a certified contractor near you.

Leslie oversees sales and marketing at Azenco Outdoor, with a focus on modern outdoor living solutions.