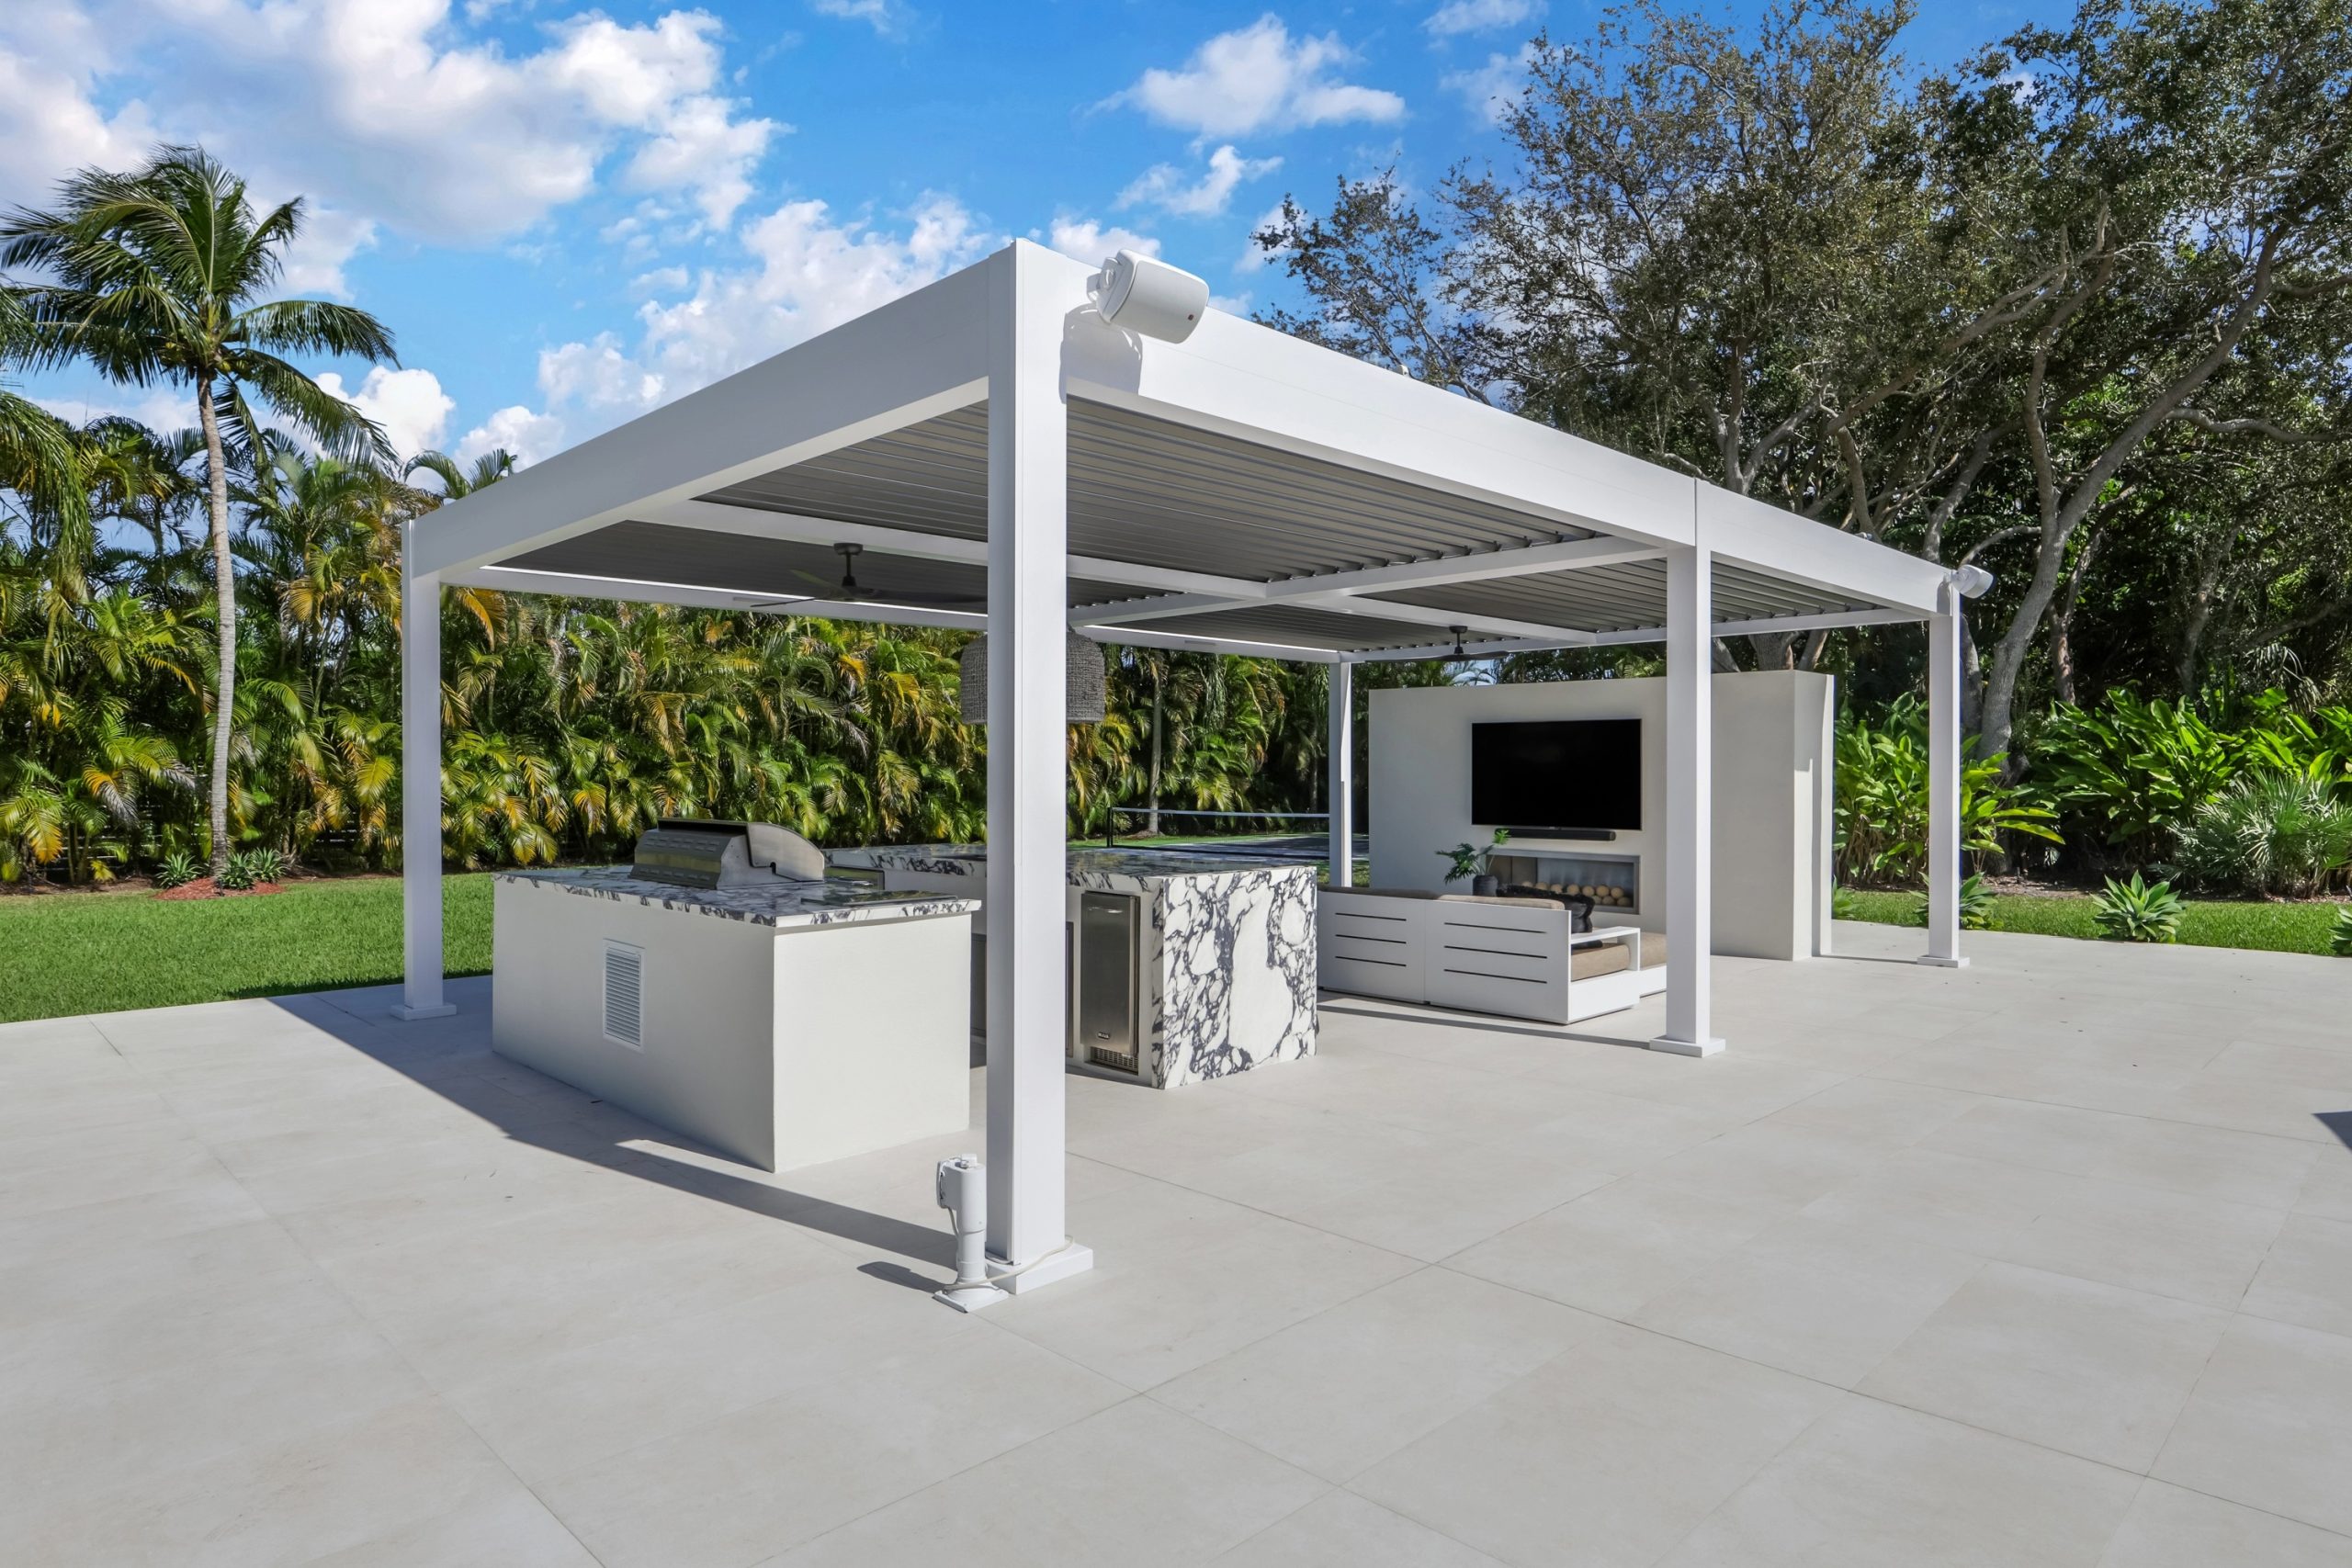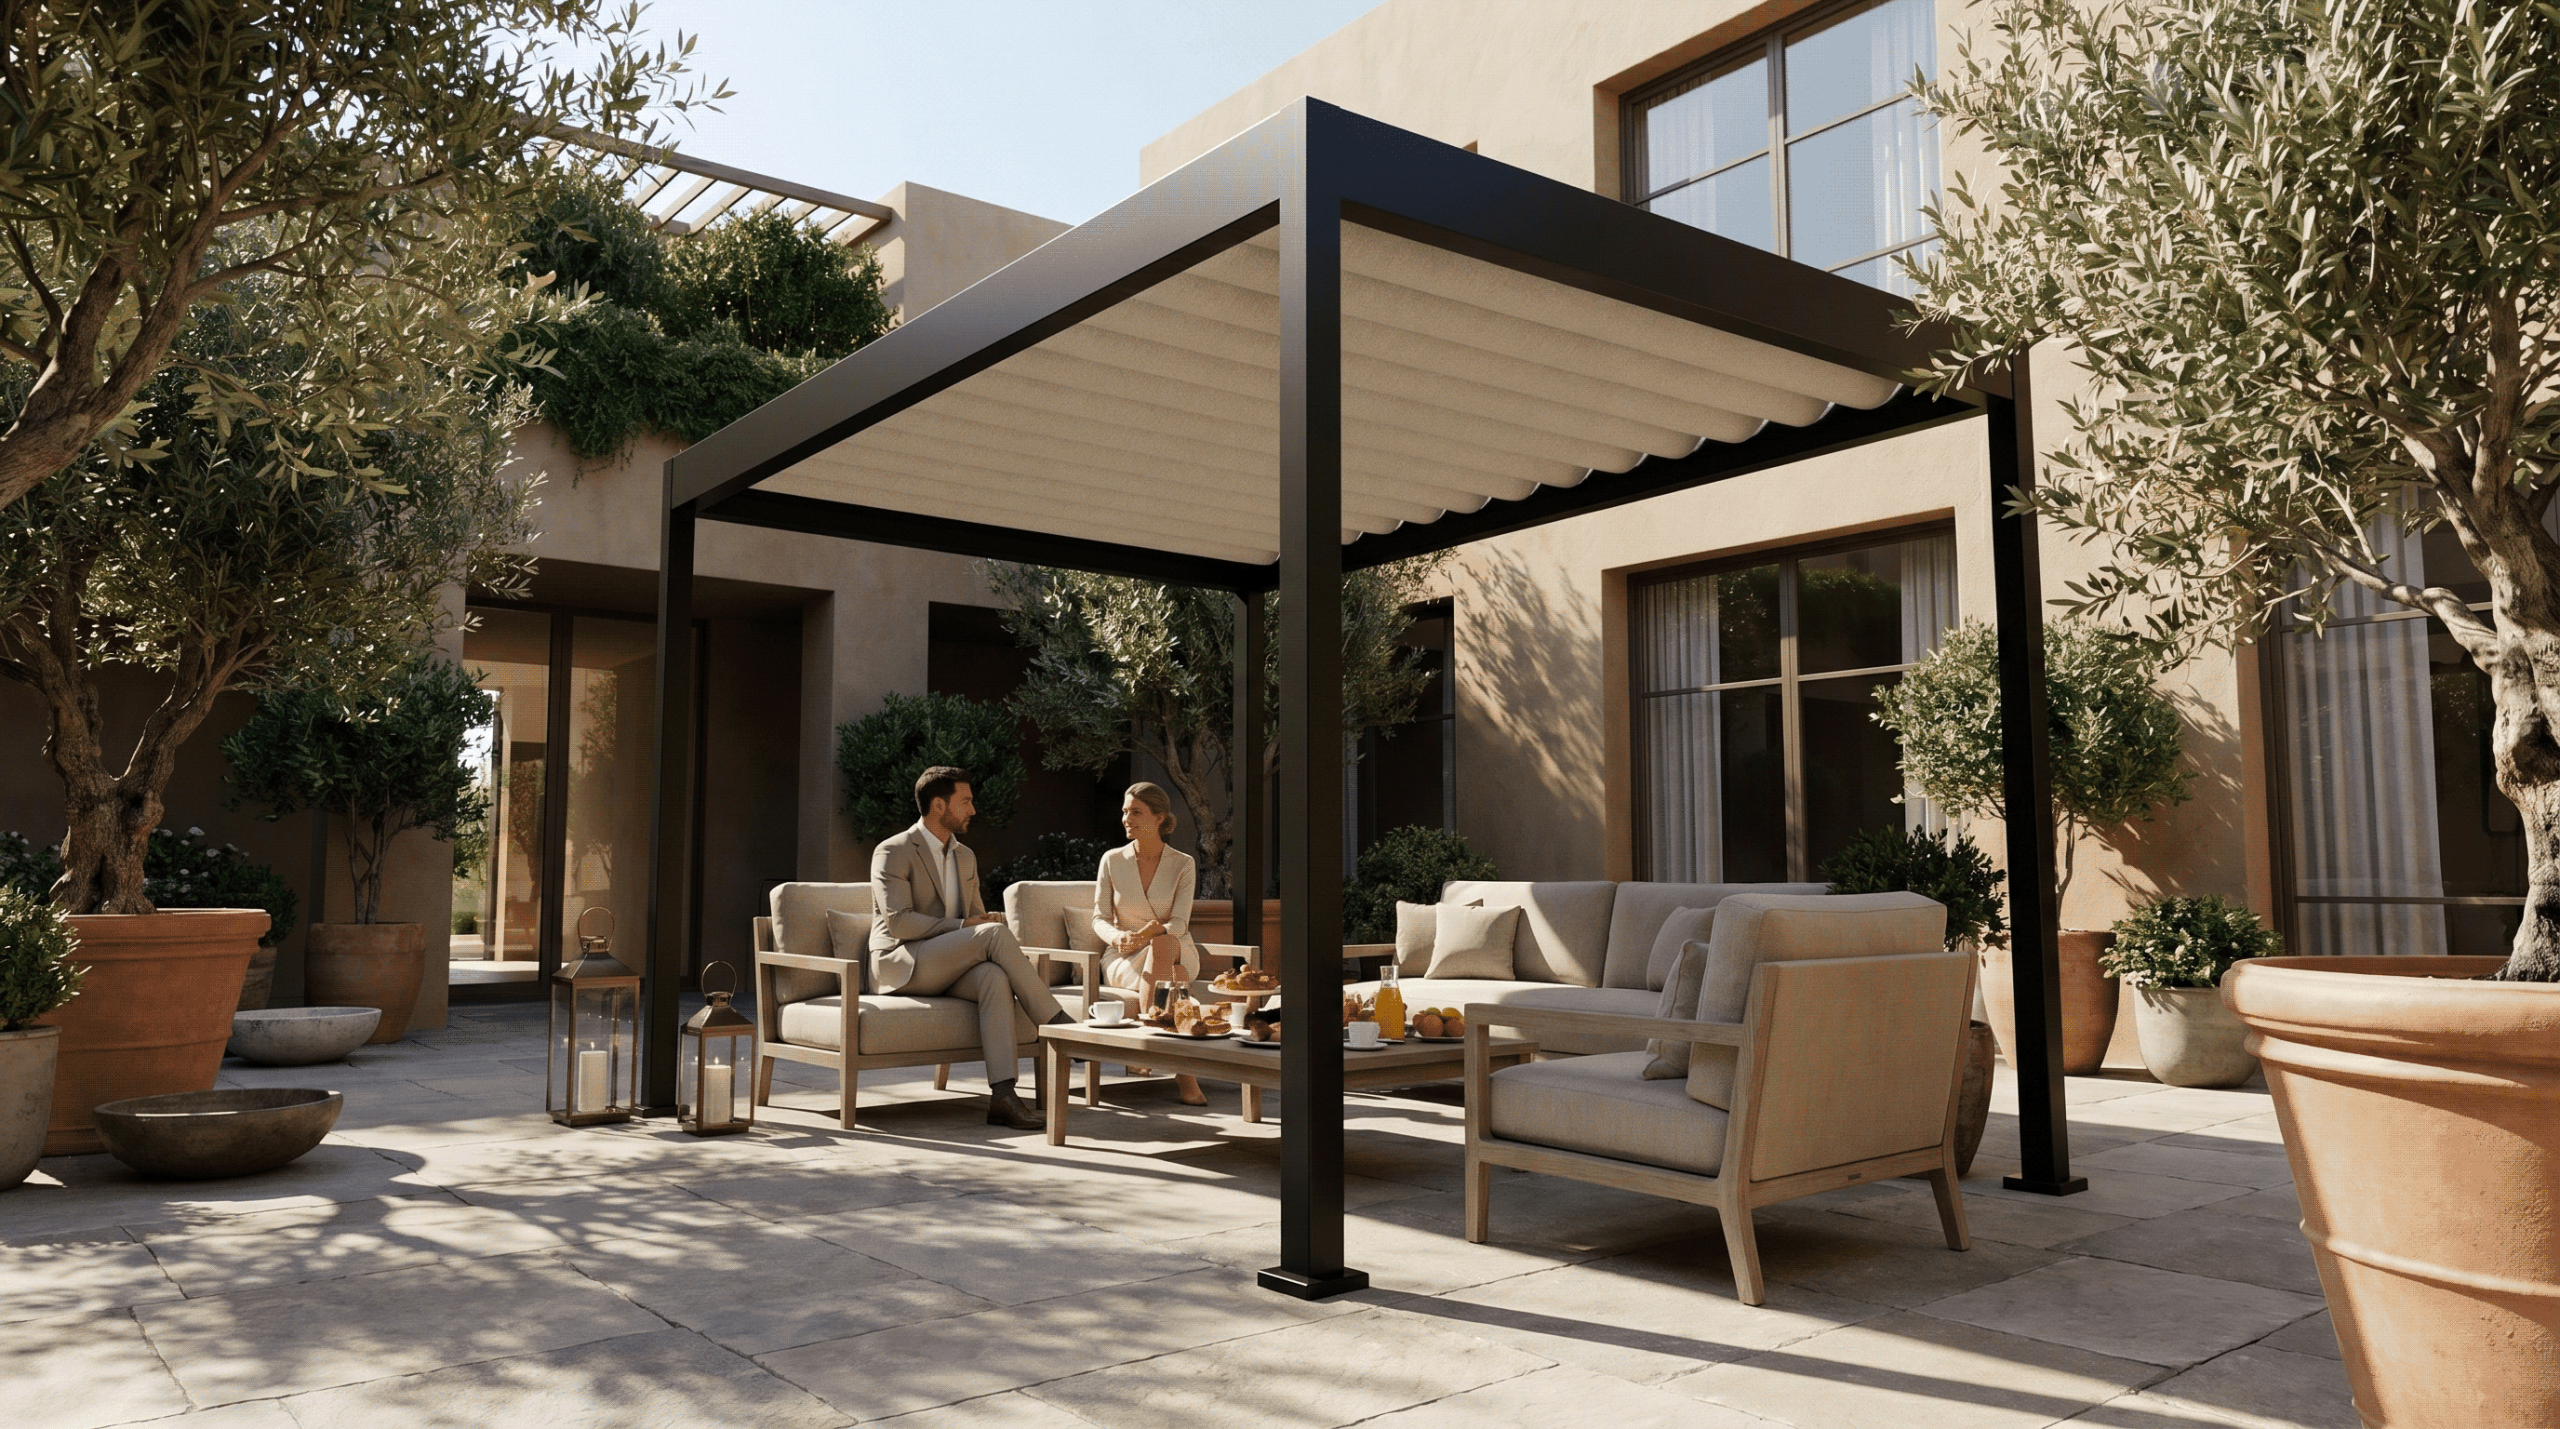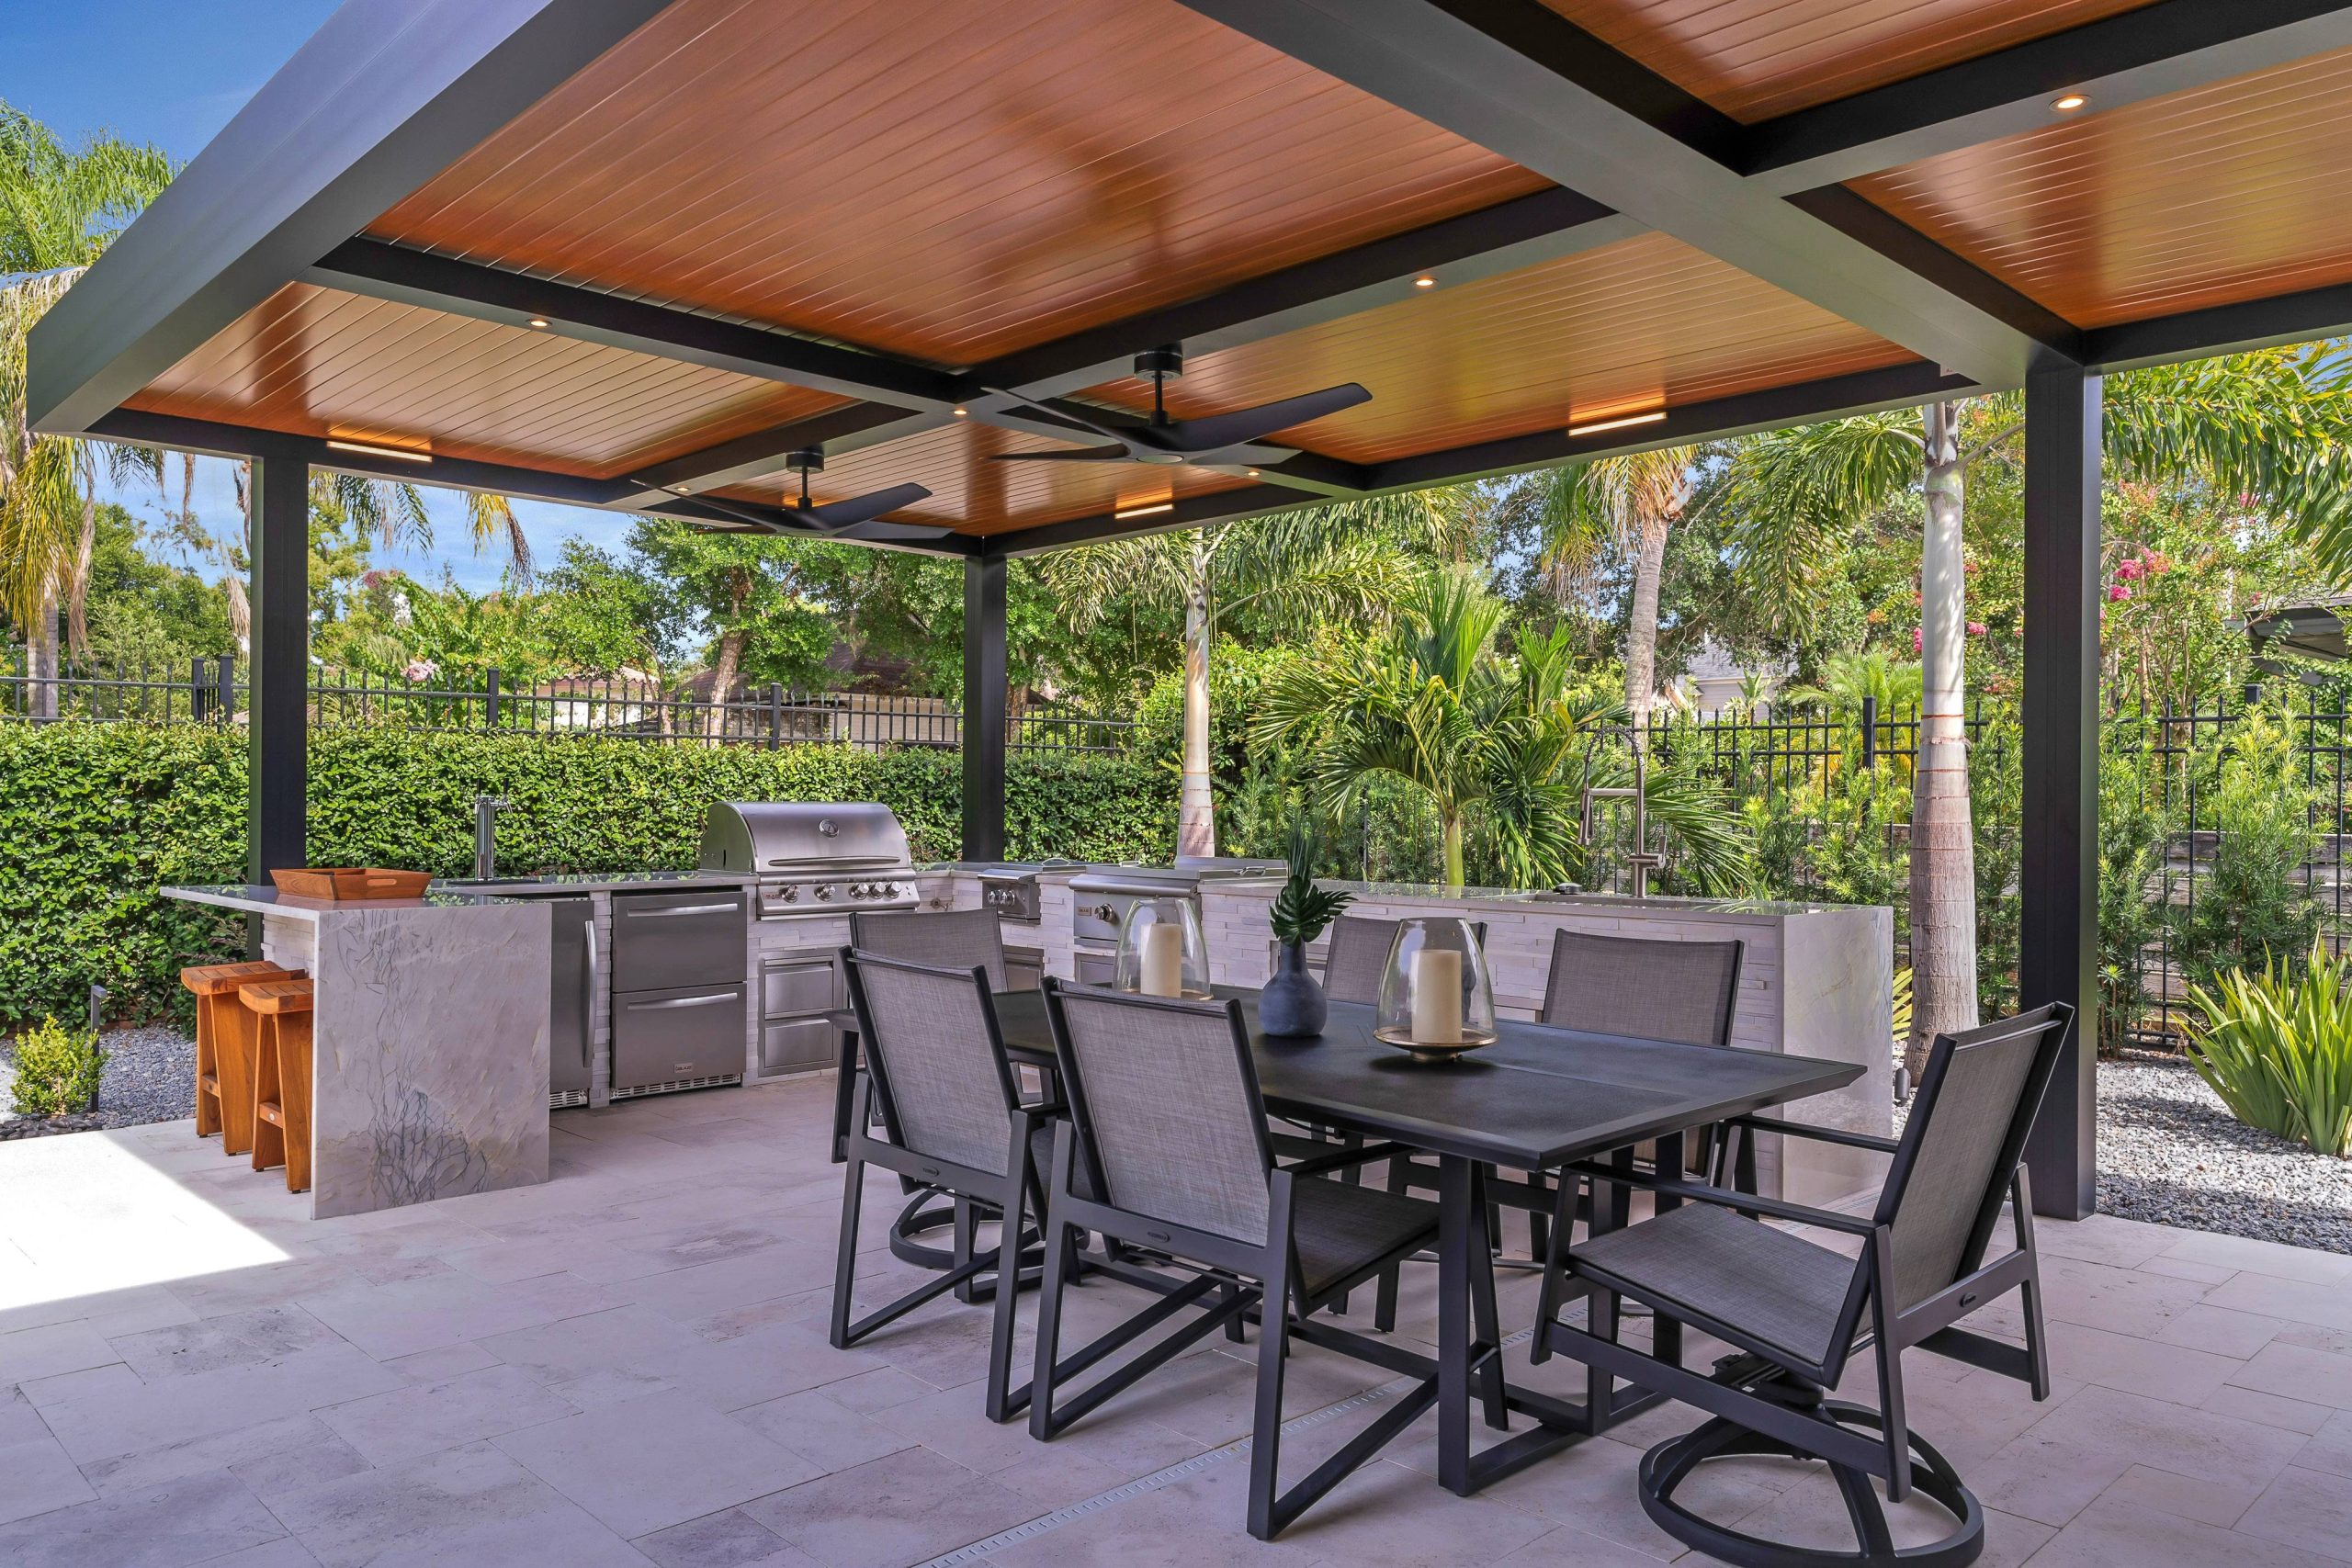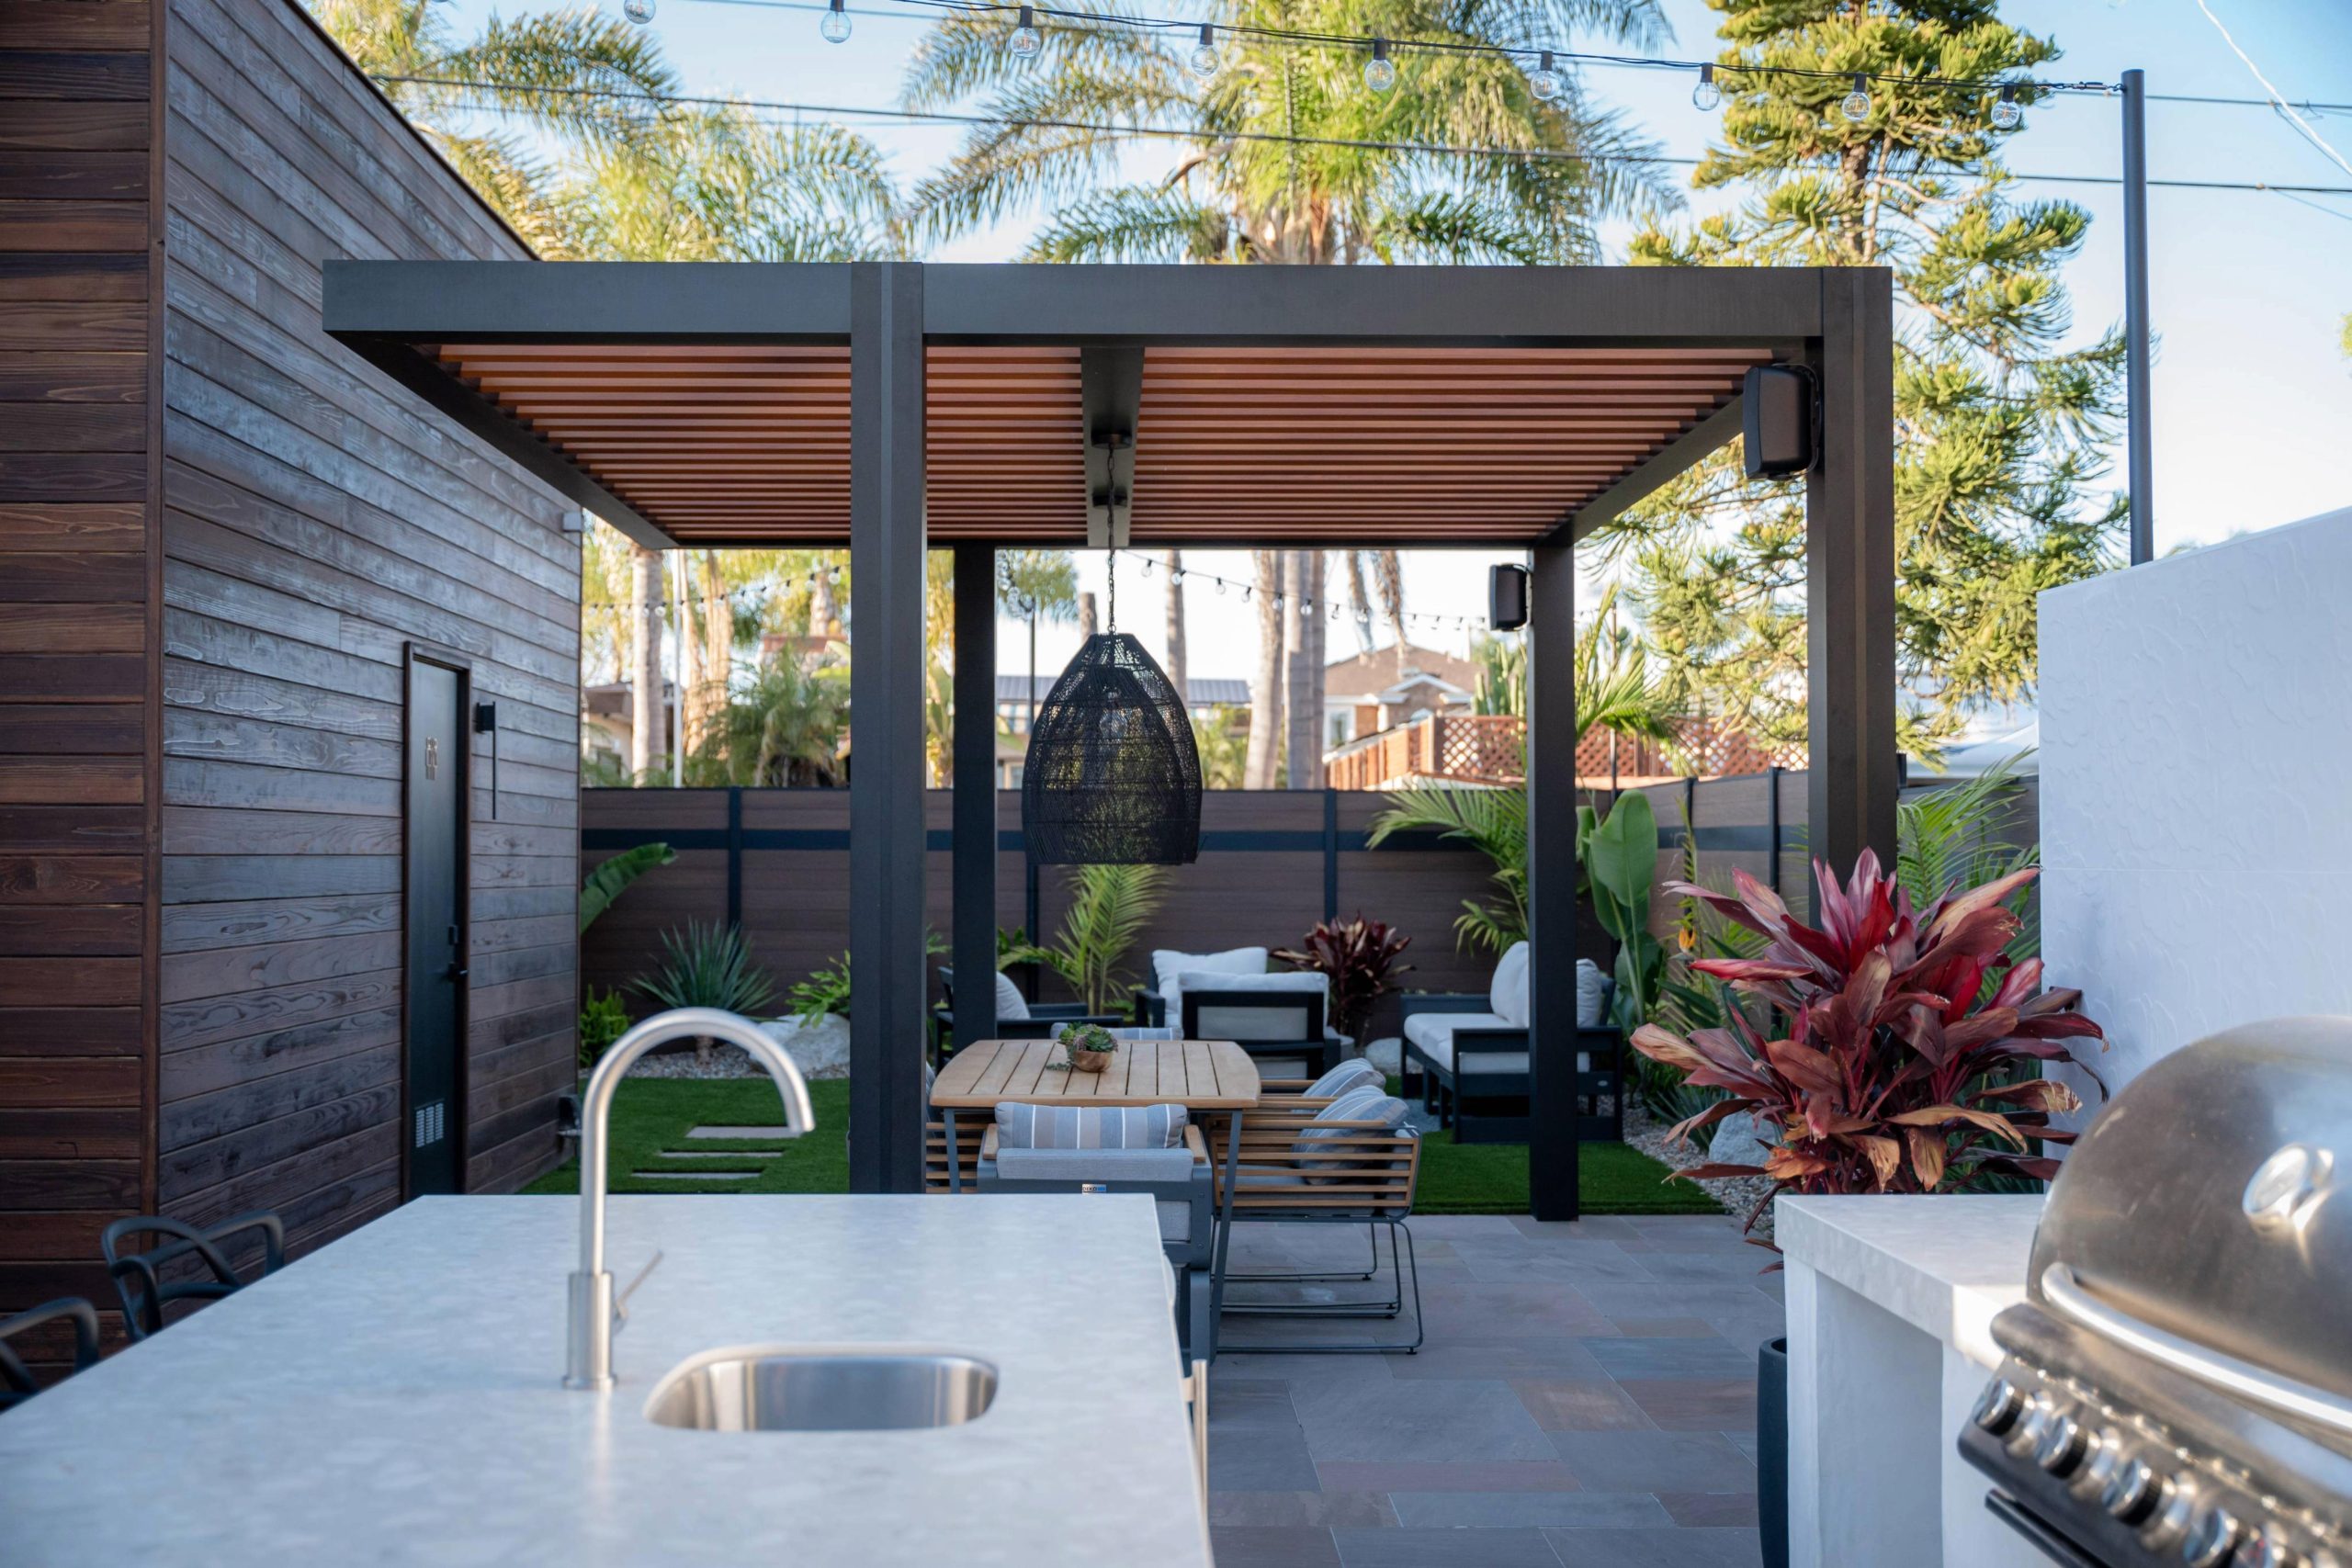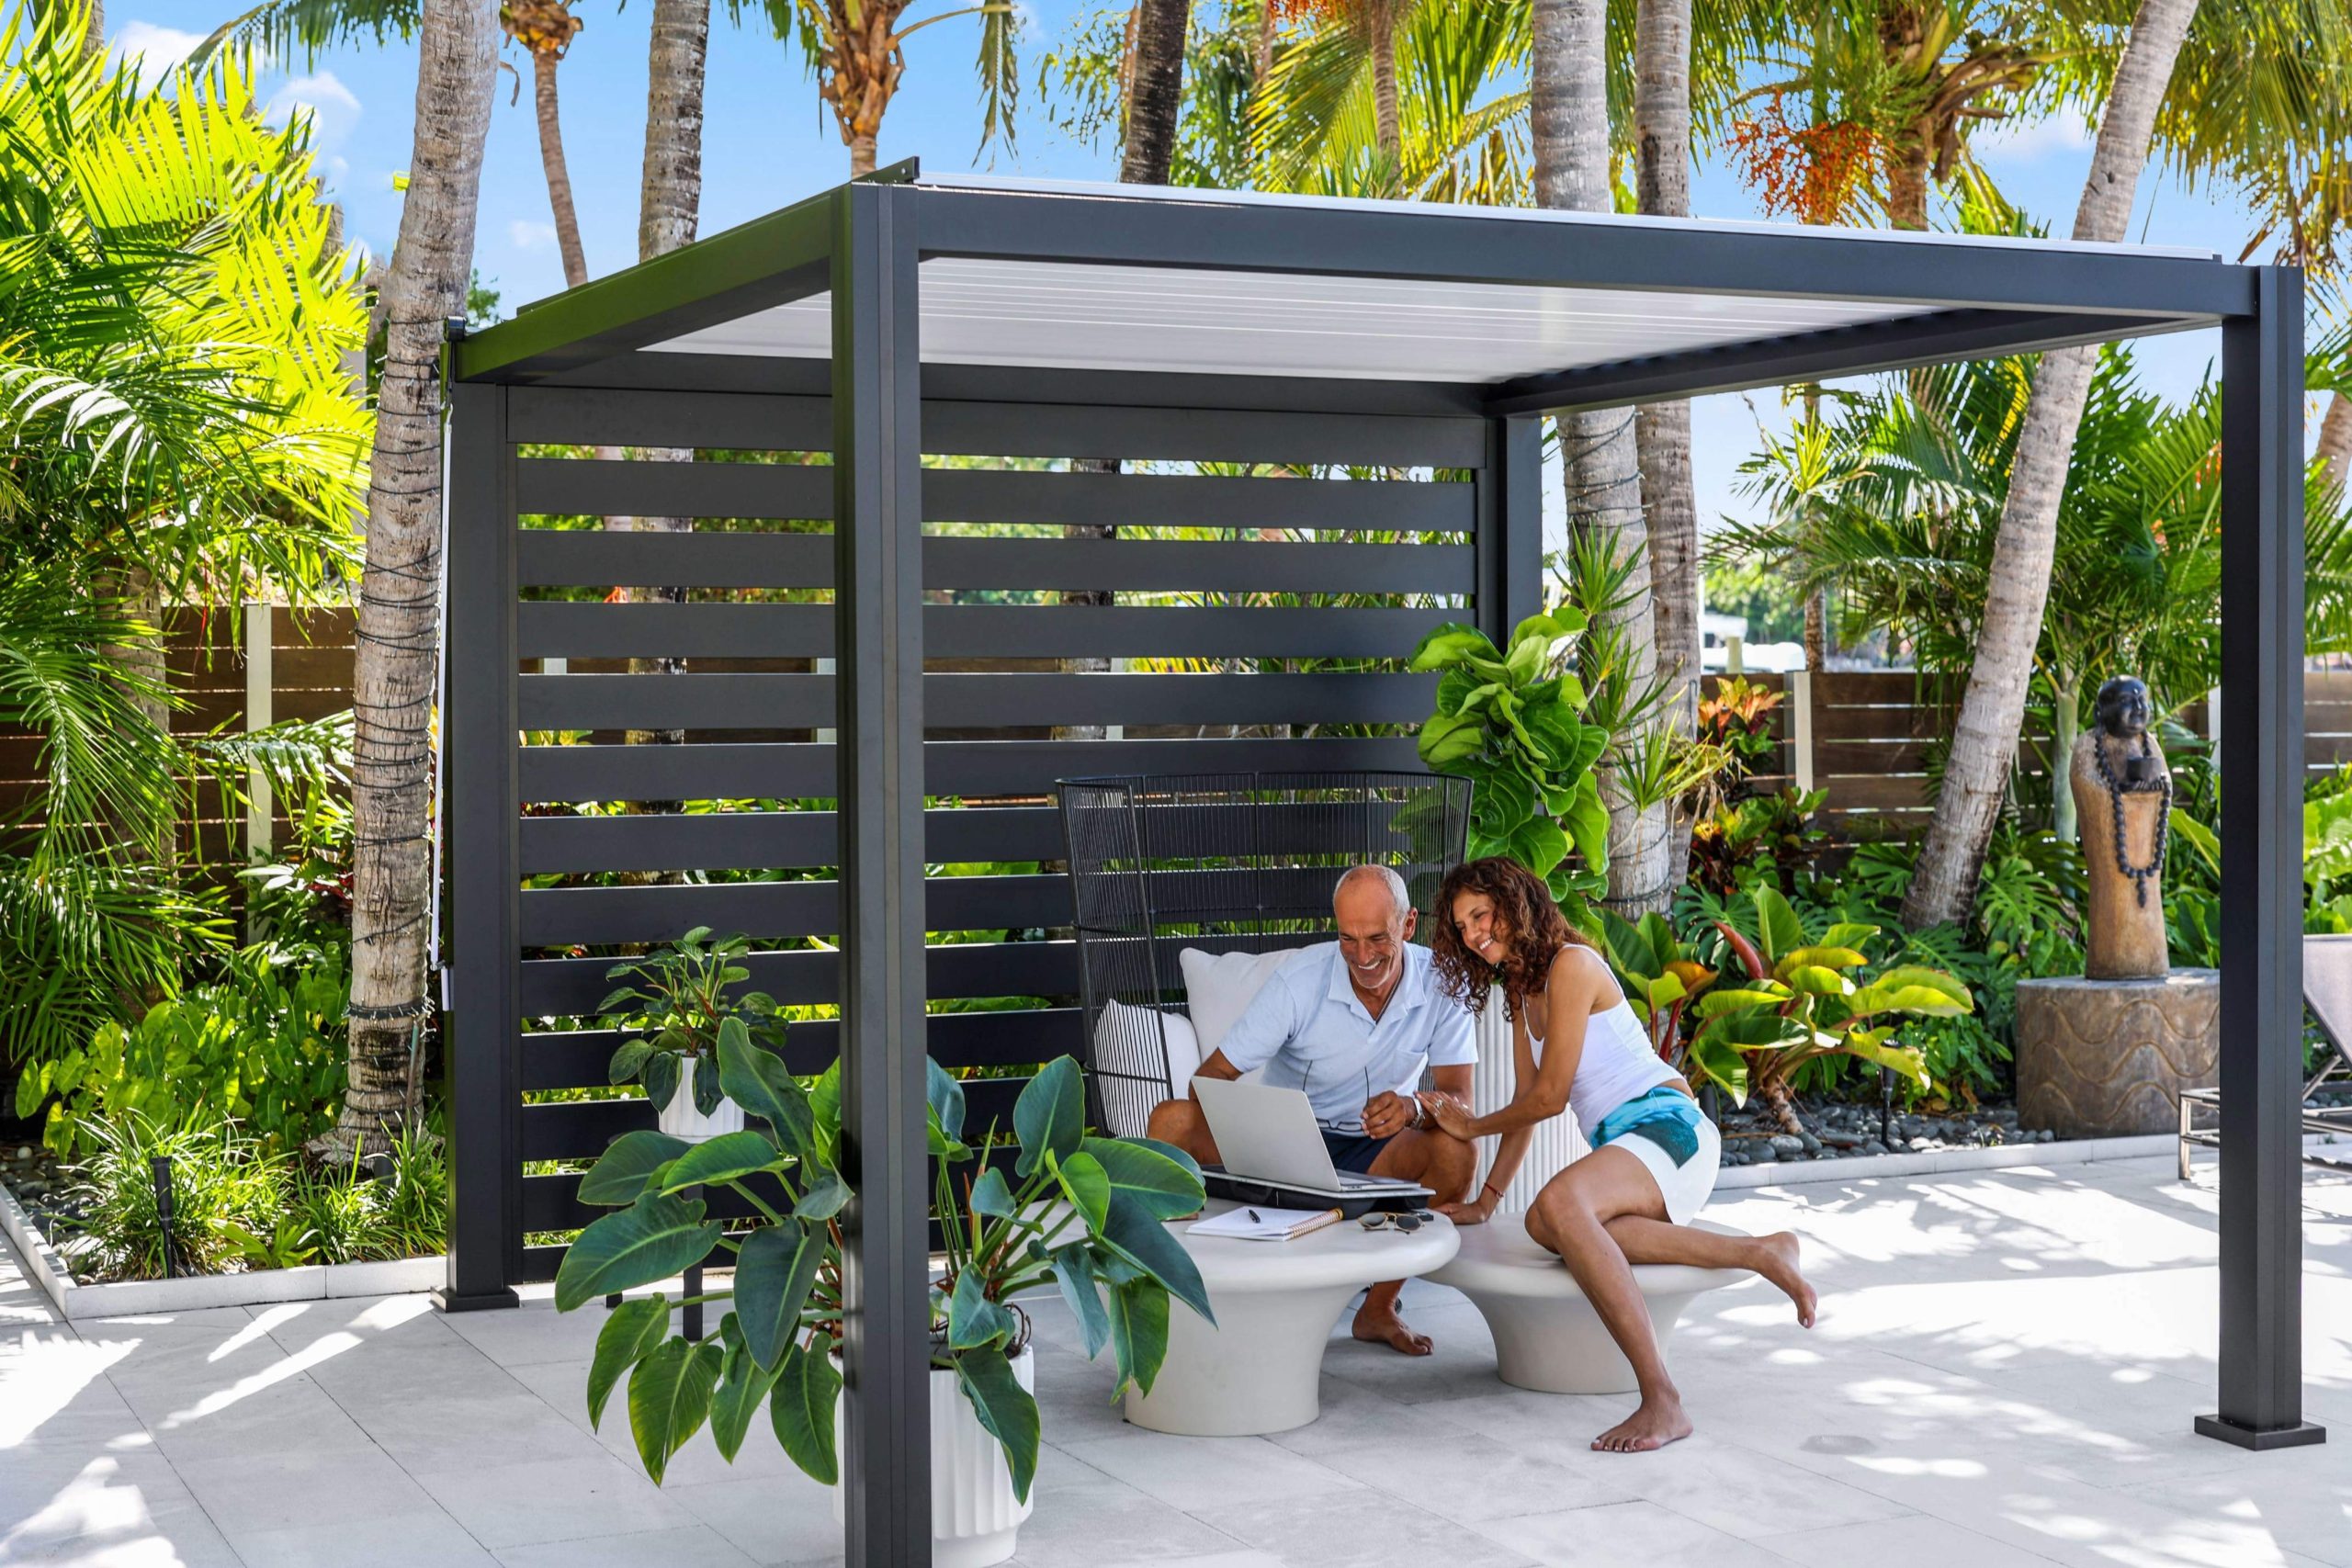
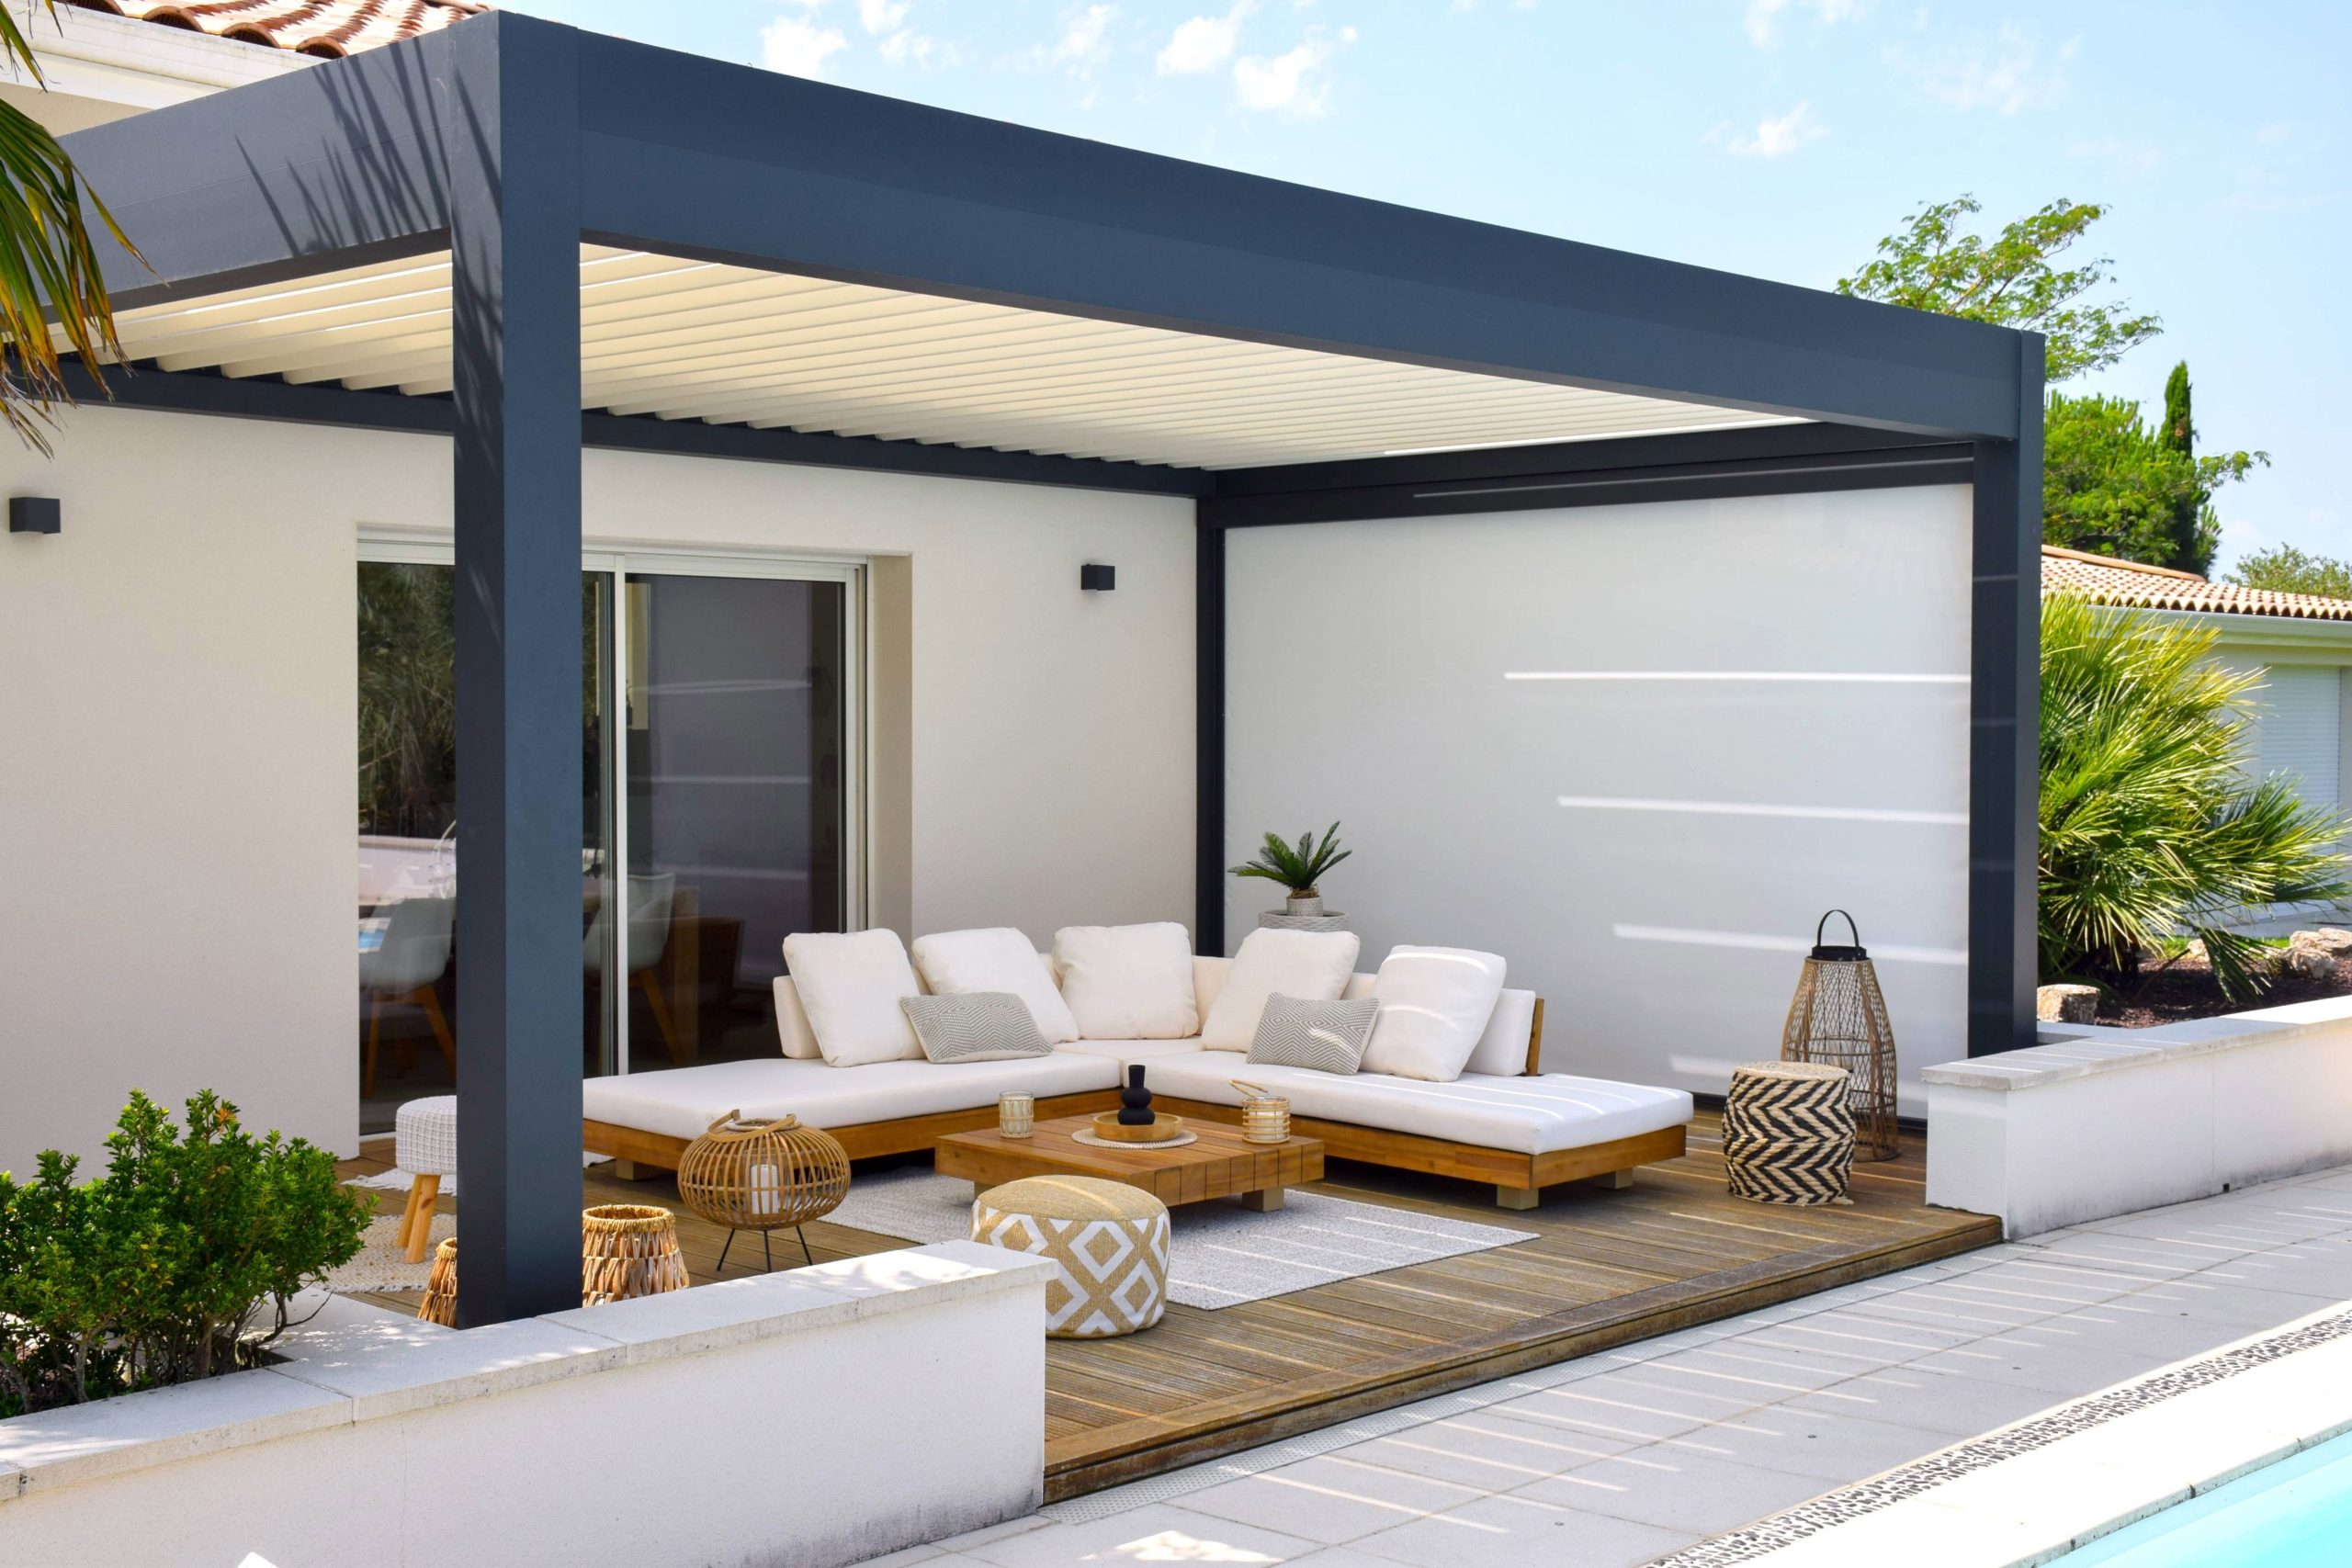
A good backyard entertaining layout starts with movement: establish a suitable grill location, protect the main walkway, connect dining to serving, and position lounge seating outside the busiest food route. Then place shade over the seats you use during actual hosting hours. The right arrangement depends on your furniture, guests, appliance requirements, sunlight, and yard-not simply how many pieces fit on the patio.
Picture an ordinary gathering. Are you serving a seated dinner, passing small plates, or spending most of the evening talking? Note your usual guest count, hosting hours, and furniture dimensions before planning for the occasional larger party.
Sketch the indoor kitchen, back door, gates, and existing obstacles. Mark three distinct areas: the cook’s workspace, the route food takes to the table, and the walkway guests use to reach seating or return indoors.
These routes may connect, but guests should not need to squeeze behind the cook or between occupied dining chairs. Build around everyday use, with movable seating for occasional visitors.
Include the return trip when sketching routes. Clearing plates, replenishing drinks, and carrying food outdoors should remain manageable after guests settle in. A layout that works only before dinner starts needs another pass.
| Area | Place in relation to | Keep clear | What to check |
|---|---|---|---|
| Grill | A suitable outdoor location connected to serving | Appliance clearances and the cook’s workspace | Manufacturer instructions, smoke, food route |
| Dining | Convenient serving access | Occupied chairs, doors, main walkway | Extended table and passing guests |
| Lounge | Connected to the gathering, outside the serving route | Access around the seating group | Conversation, views, privacy |
| Shade | Seats used during priority hosting hours | Walking routes and valued sightlines | Moving shadows, side sun, adjacent windows |
Our brochure is packed with inspiration, design options, and key details to help you make the right choice.
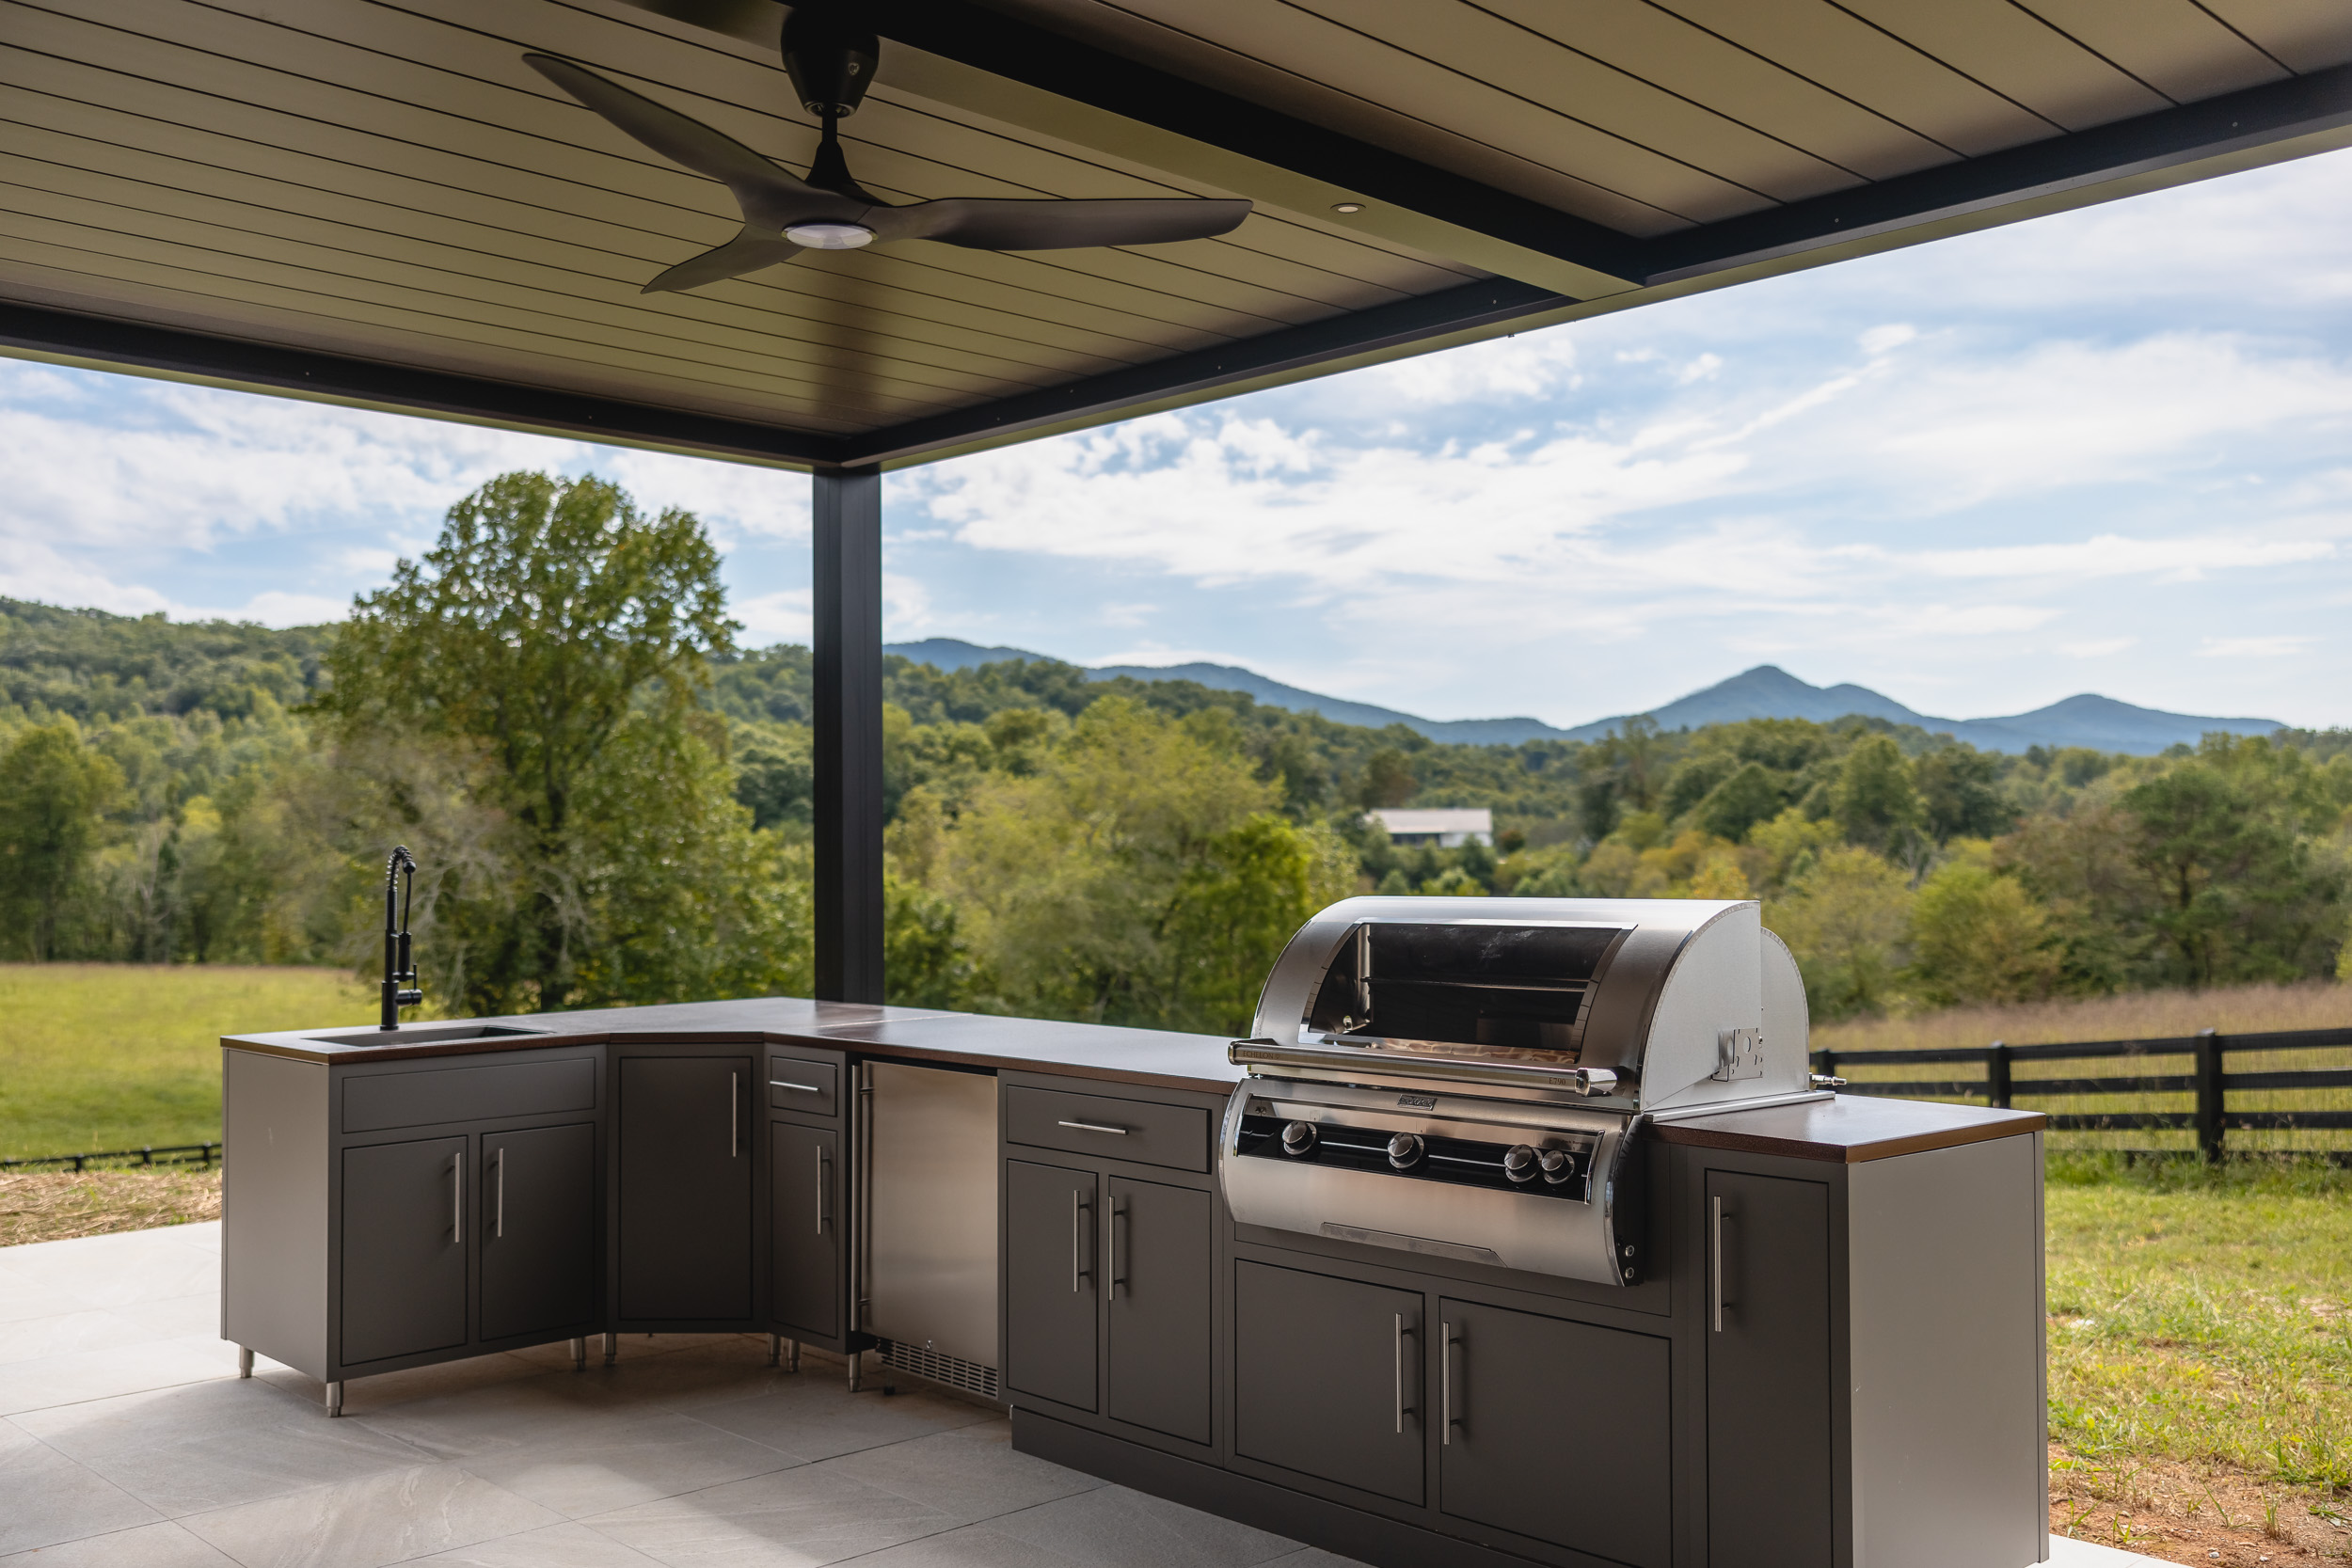
Decide where to put a grill by checking the appliance’s permitted location and required clearances first. Serving convenience comes next.
The U.S. Fire Administration advises using propane, charcoal, and wood-pellet grills outdoors, away from siding and deck railings, and outside the area beneath eaves or overhanging branches. Its guidance for separating children and pets from a grill does not replace appliance-specific clearance requirements.
Keep the cook’s working area outside the route to drinks, seating, and the house. Consider where smoke could reach guests or open windows, recognizing that wind direction changes.
An aluminum frame, open louvers, retracted fabric, extra roof height, fan, or hood does not automatically make covered grilling appropriate. A proposed covered cooking installation needs evaluation for the actual appliance and project. Plan dining and lounge shade separately from that decision.
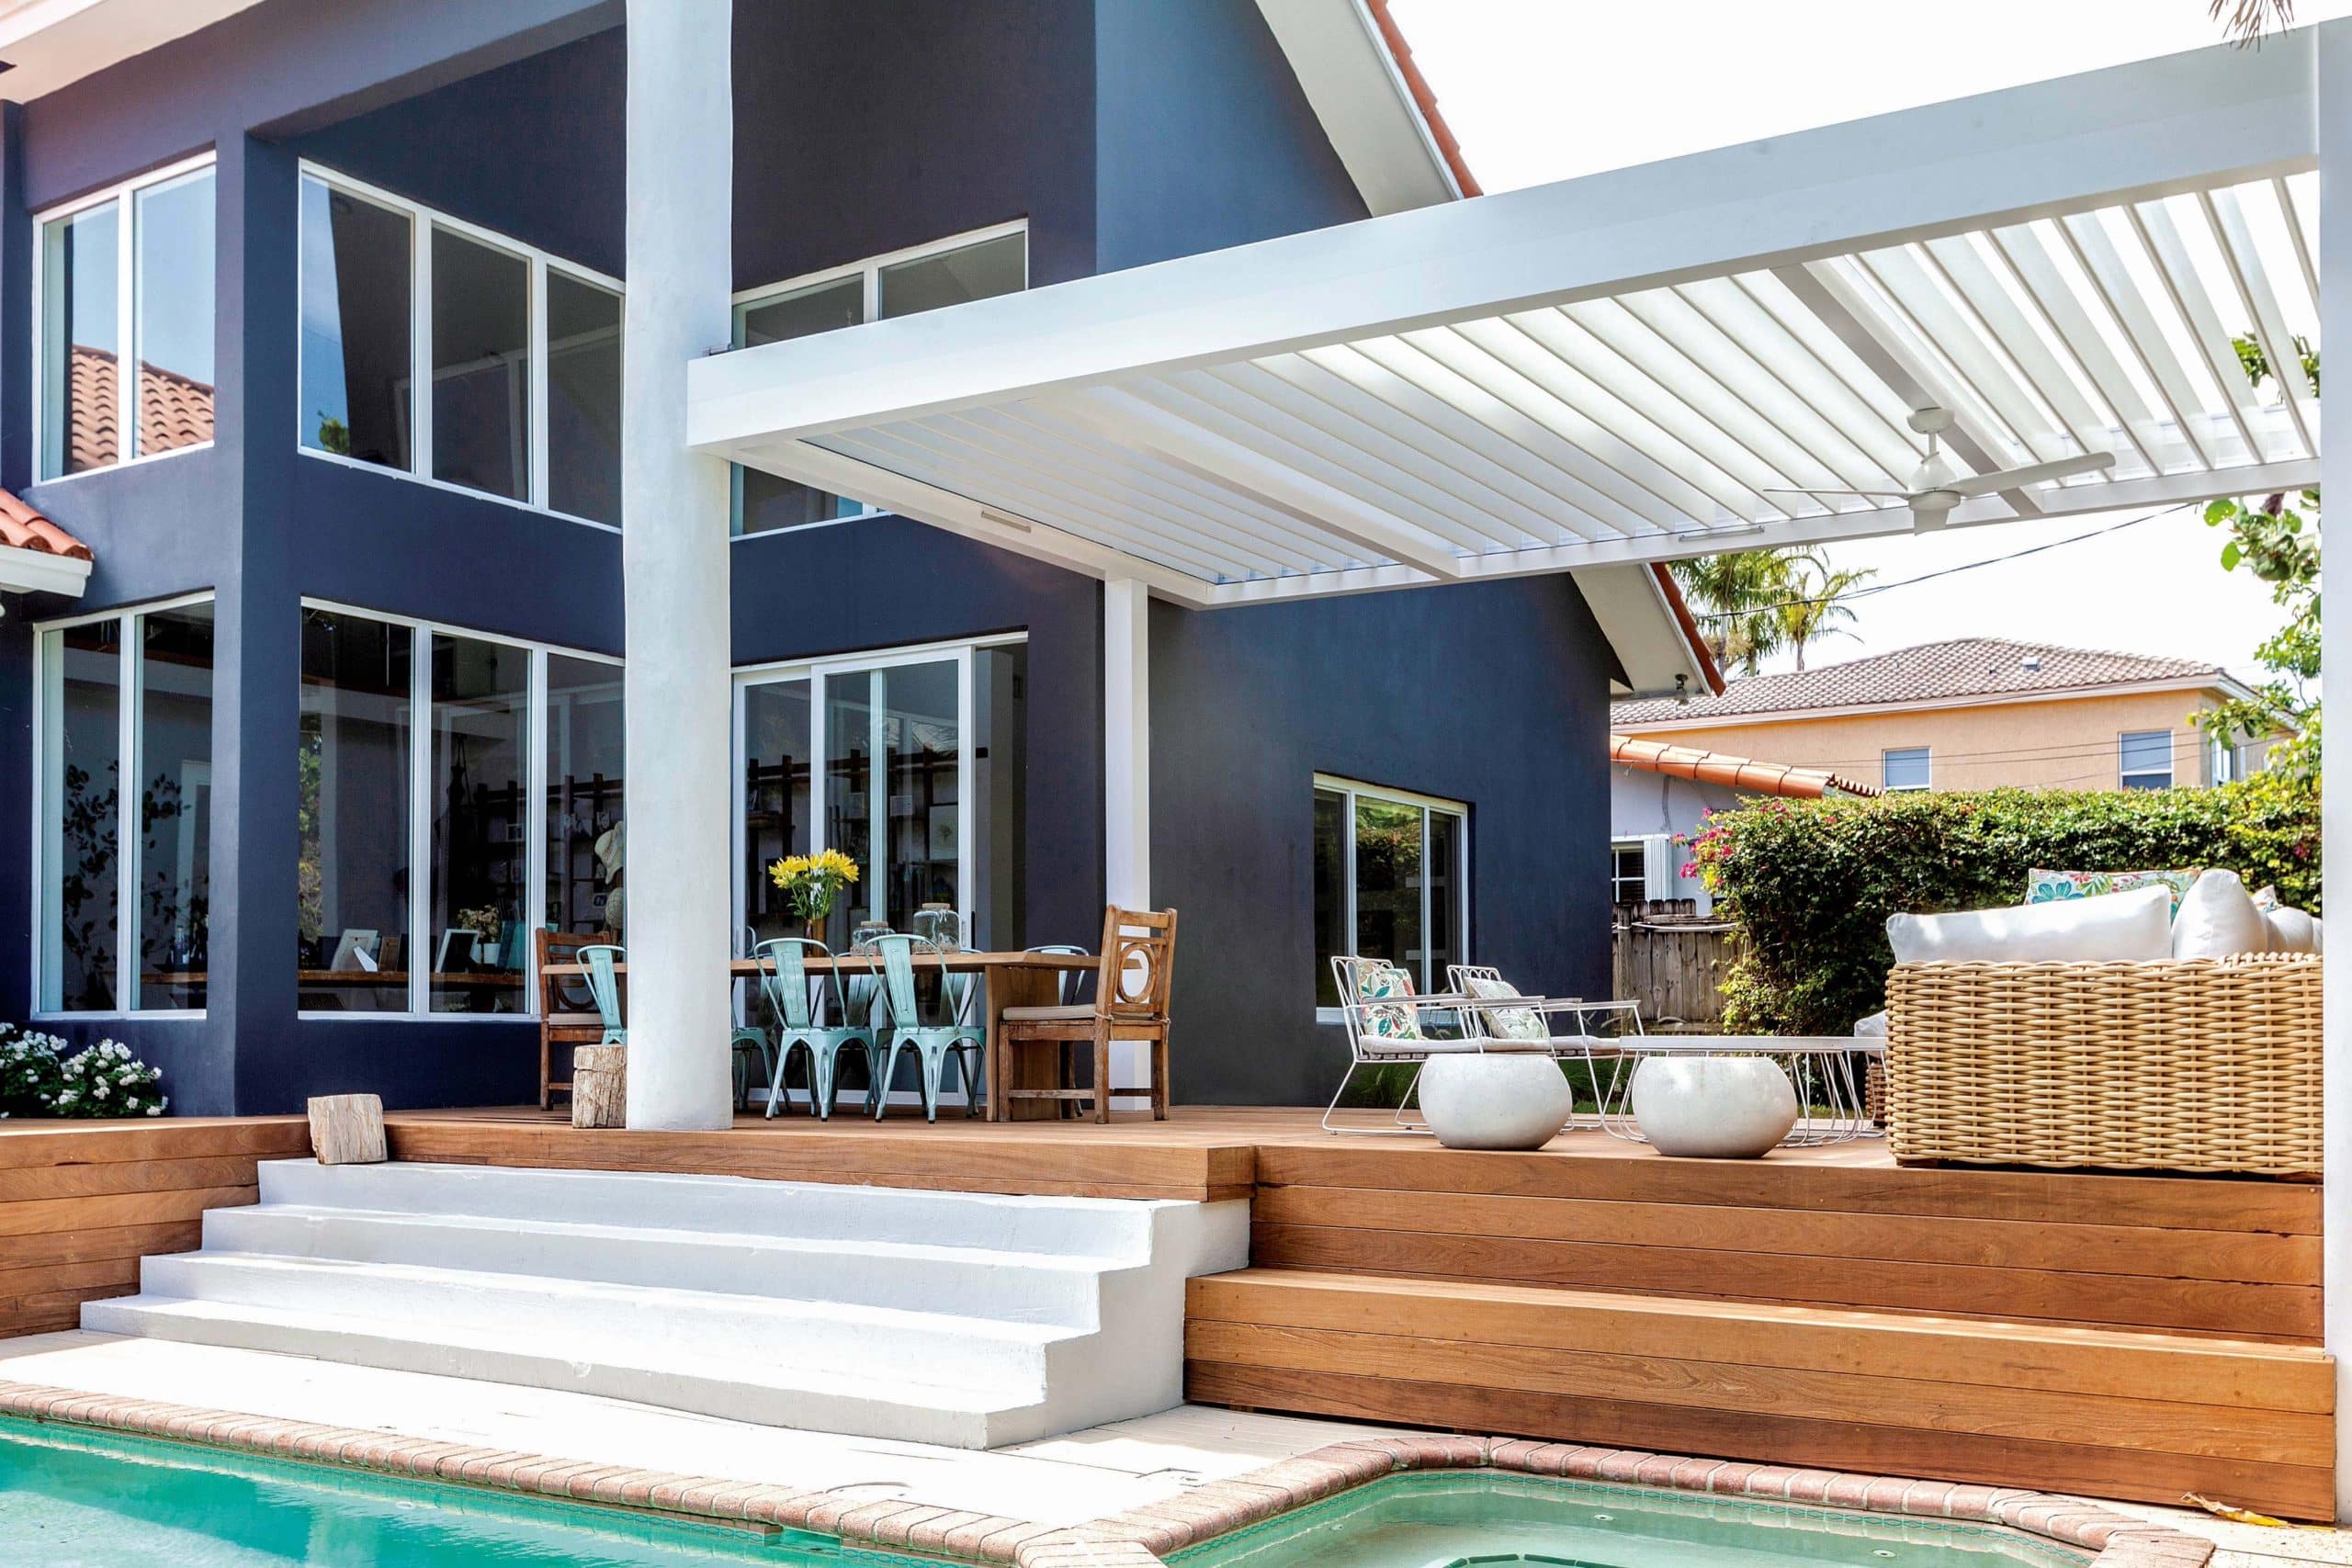
Position the table where carrying food feels straightforward without putting diners in the doorway. A short route is useful only if it remains workable when everyone sits down.
For your outdoor dining layout, measure the table fully extended and test chairs both occupied and pulled out. Include any serving cabinet, door swing, or mobility aid that changes the space needed.
Try approaching each seat while another person carries a tray past the table. If someone must stand up every time a dish arrives, revise the arrangement.
Place drinks where guests can help themselves without gathering beside the grill. A separate serving surface can also keep platters from consuming the dining table.
For buffet-style meals, check where a short queue would form. Guests selecting food should not block the back door or require seated diners to move. Test the arrangement with serving furniture in place.
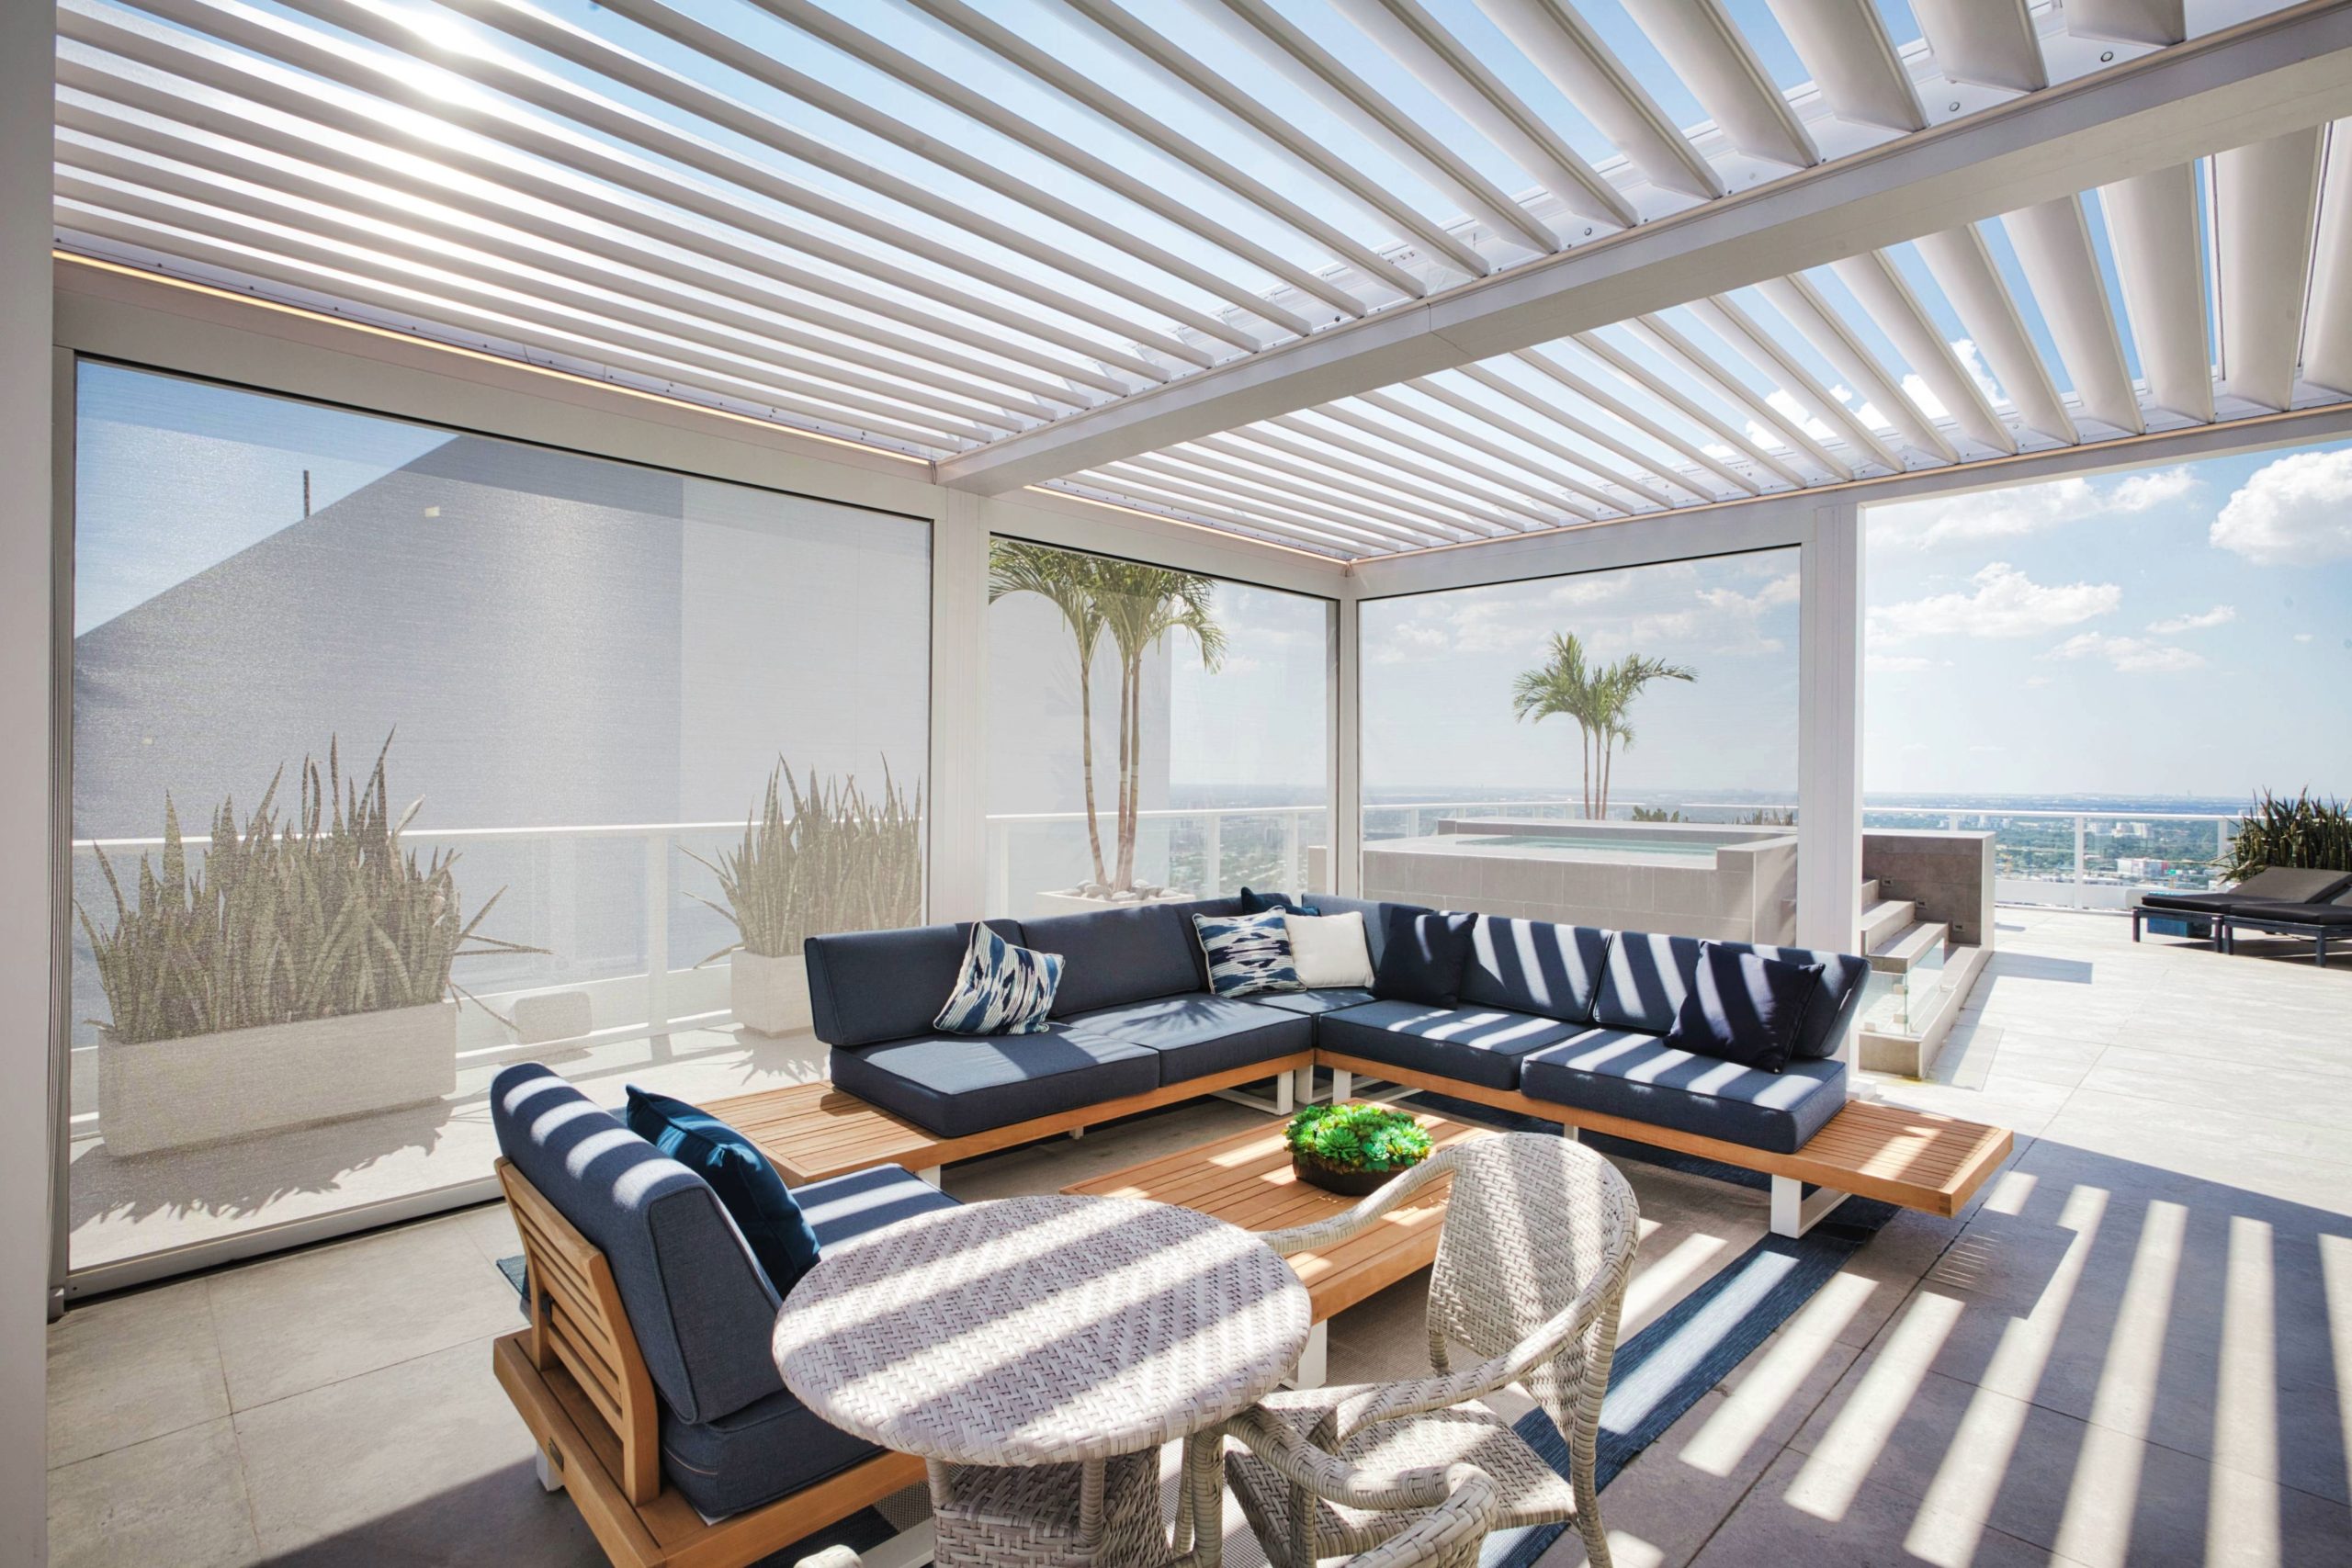
Place lounge seating close enough for guests to feel included, with access around the group rather than through its center. Face seats toward one another and a preferred view; avoid making a sofa back the main obstacle between the house and yard.
Check privacy from seated height and consider neighboring and household windows. Our privacy options for pergolas offer different degrees of enclosure; consider how any addition would affect views and airflow.
In our poolside lounge project, the homeowners wanted covered seating while preserving an adjacent walkway. That planning priority translates well to other backyards: coordinate the seating, roof, and walking route together.
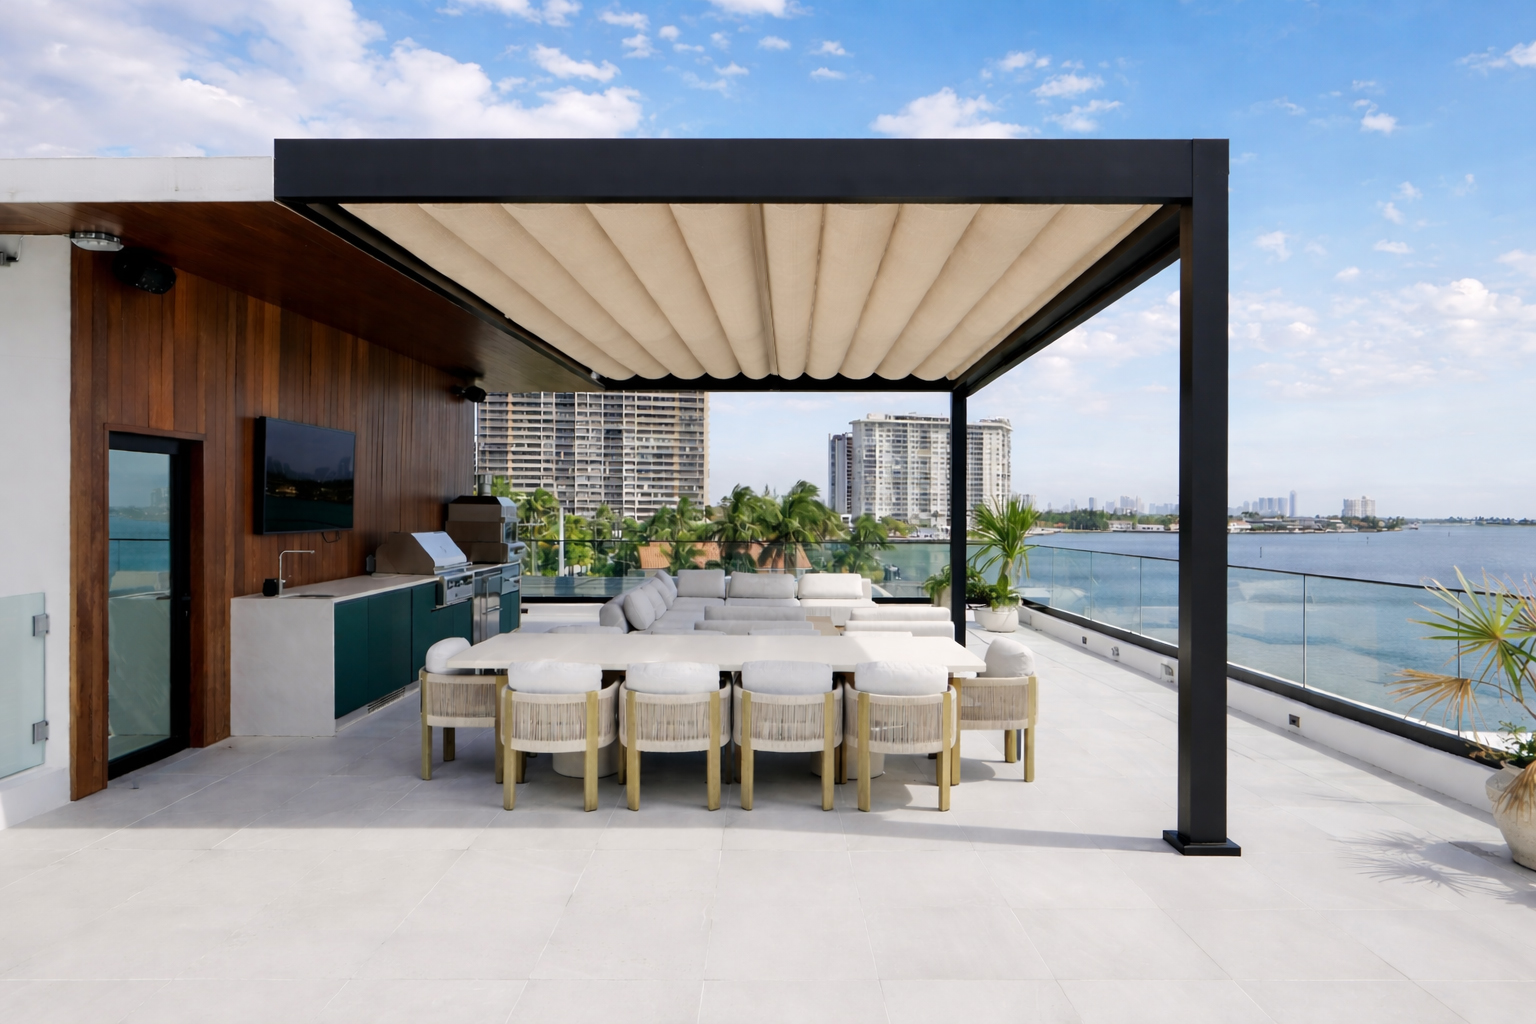
Study the patio during your usual hosting hours. A lunch table and an evening conversation area may need different shade strategies. Consider seasonal changes and shade from the house or surrounding landscape.
A roof’s outline on a plan does not represent every shadow it will cast. Low morning or afternoon sunlight can reach beneath overhead coverage.
DOE/NREL shading guidance, in Appendix A, printed page 137, explains why low east/west sun can require a vertical shading component for windows. Applying that principle to patios suggests evaluating side-entering sunlight as well as overhead sun; the source does not assess Azenco products.
Review pergola orientation for shade alongside your actual exposure. Compatible side shading may help, but assess its effects on airflow, views, and adjacent indoor daylight before enclosing a seating area.
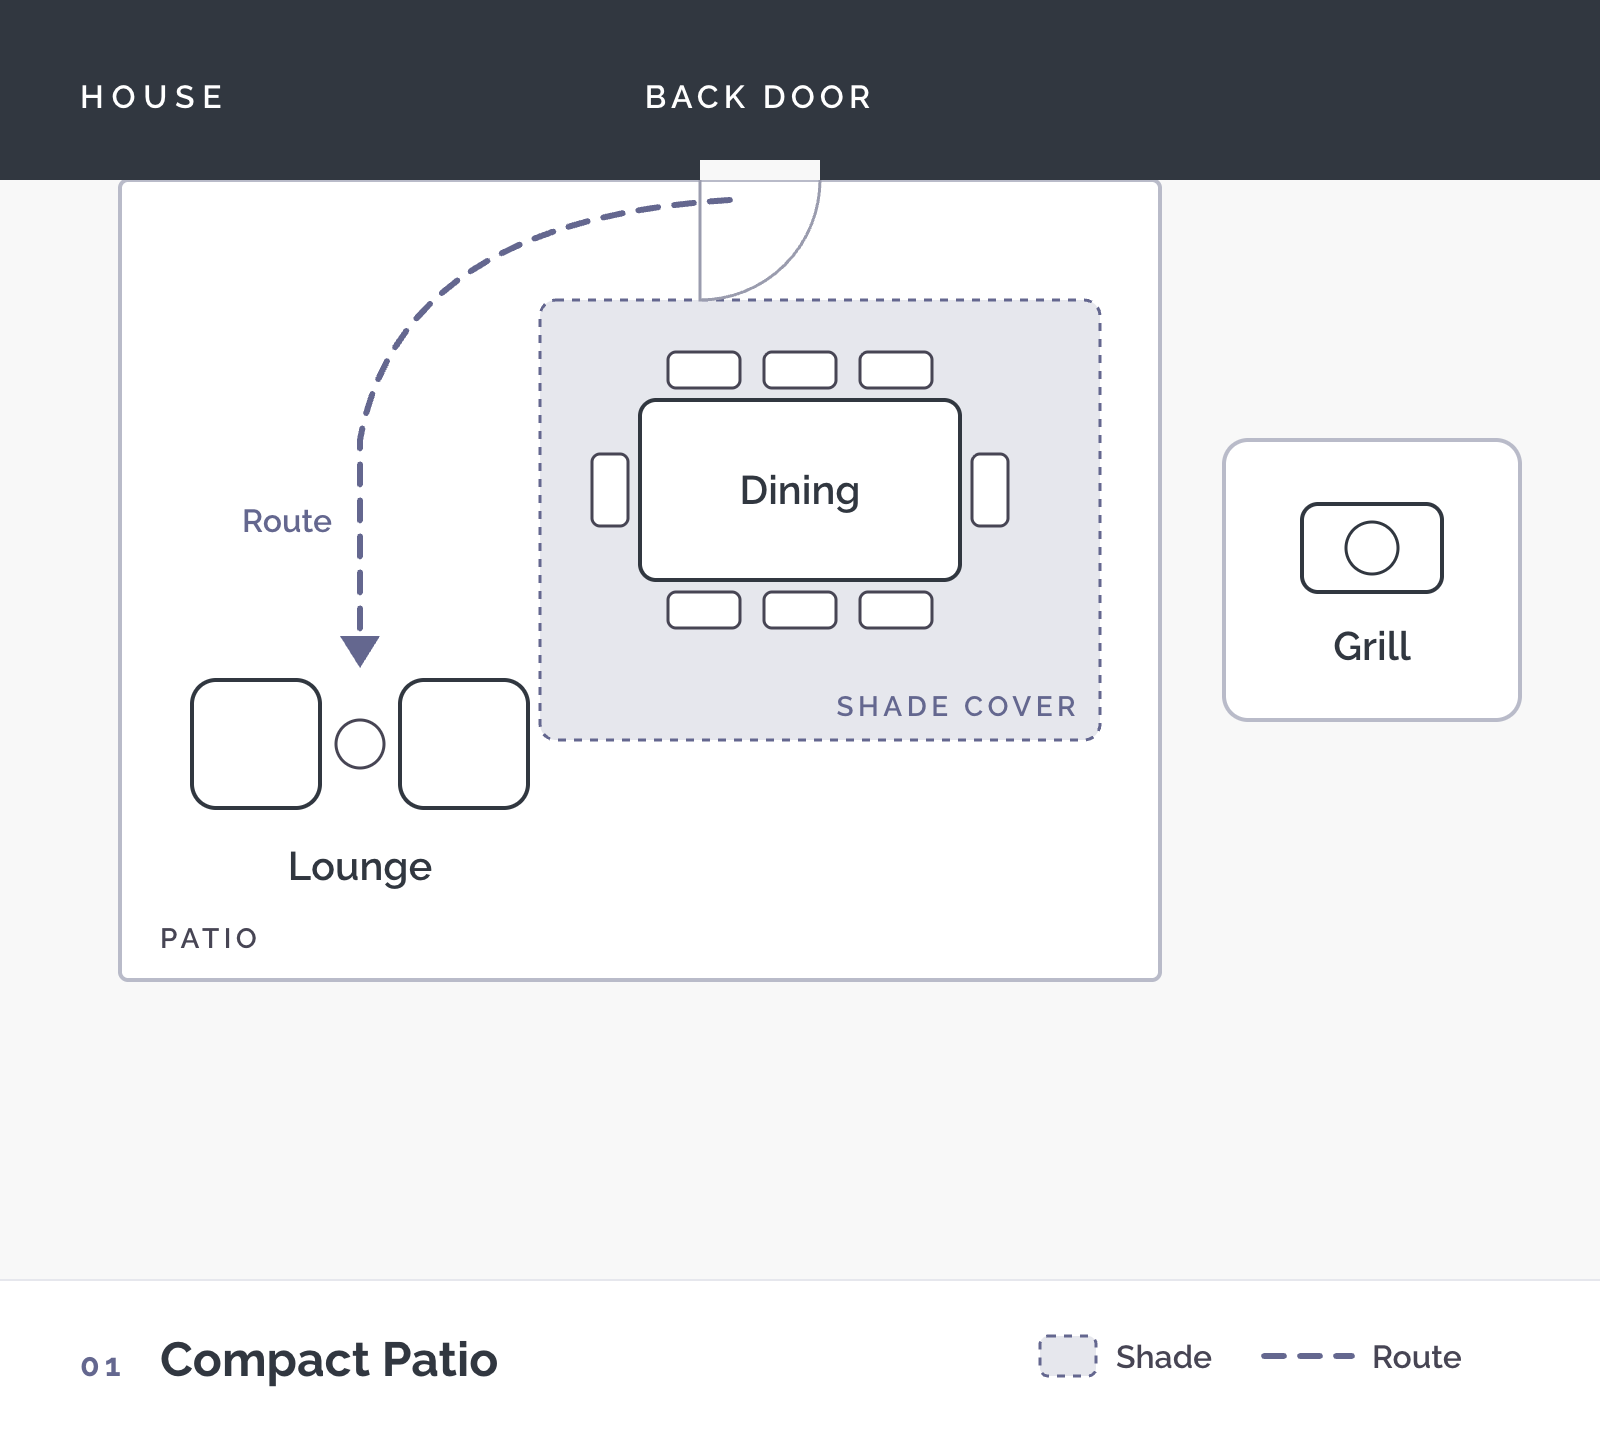
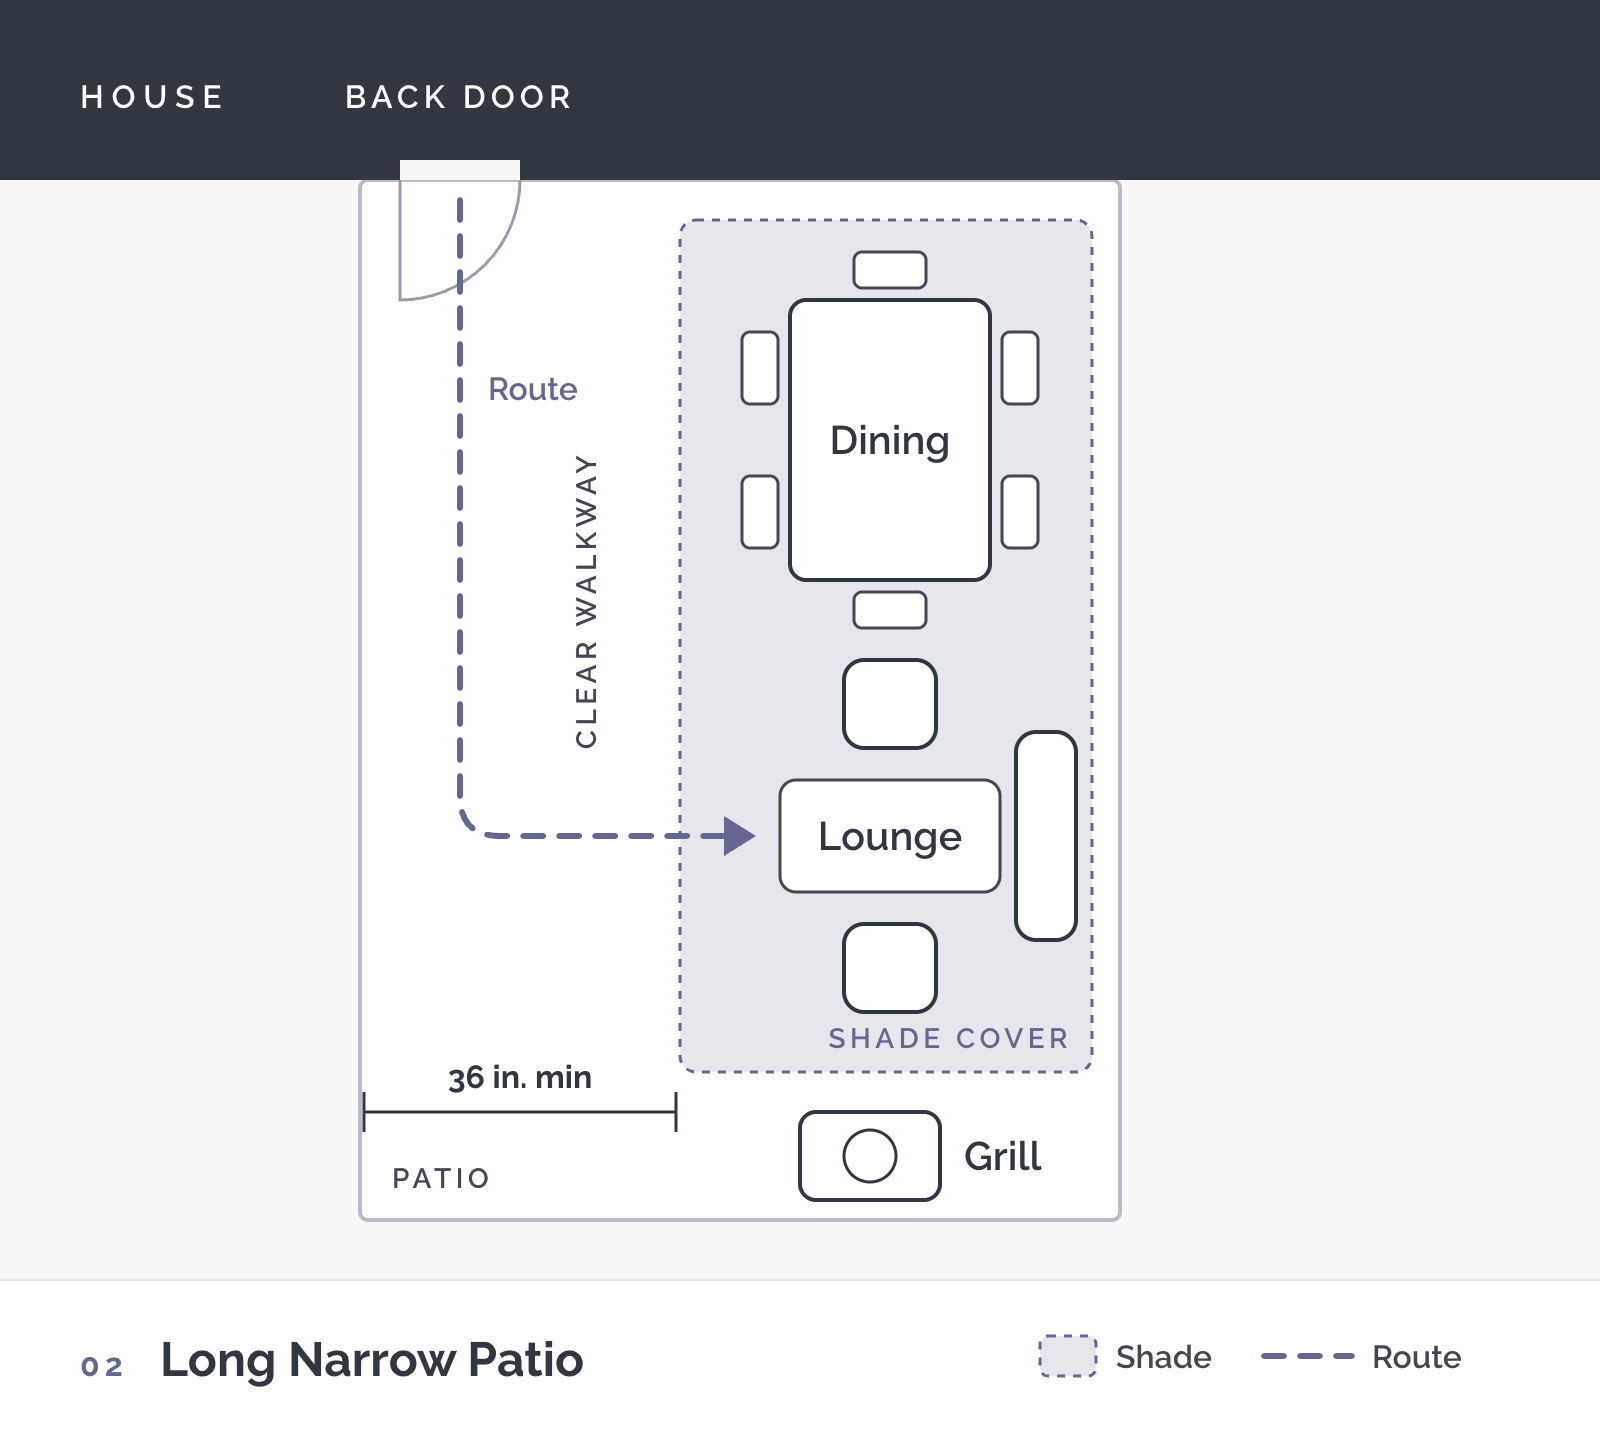
These hypothetical backyard layout ideas illustrate relationships, not measured plans.
Compact Patio: Overhead floor plan of a compact patio showing a shaded dining table near the back door, lounge chairs to the side, and the grill placed away from the house
Long Narrow Patio: Overhead floor plan of a long narrow patio showing dining and lounge seating under shade, a 36 inch clear walkway beside them, and the grill at one end
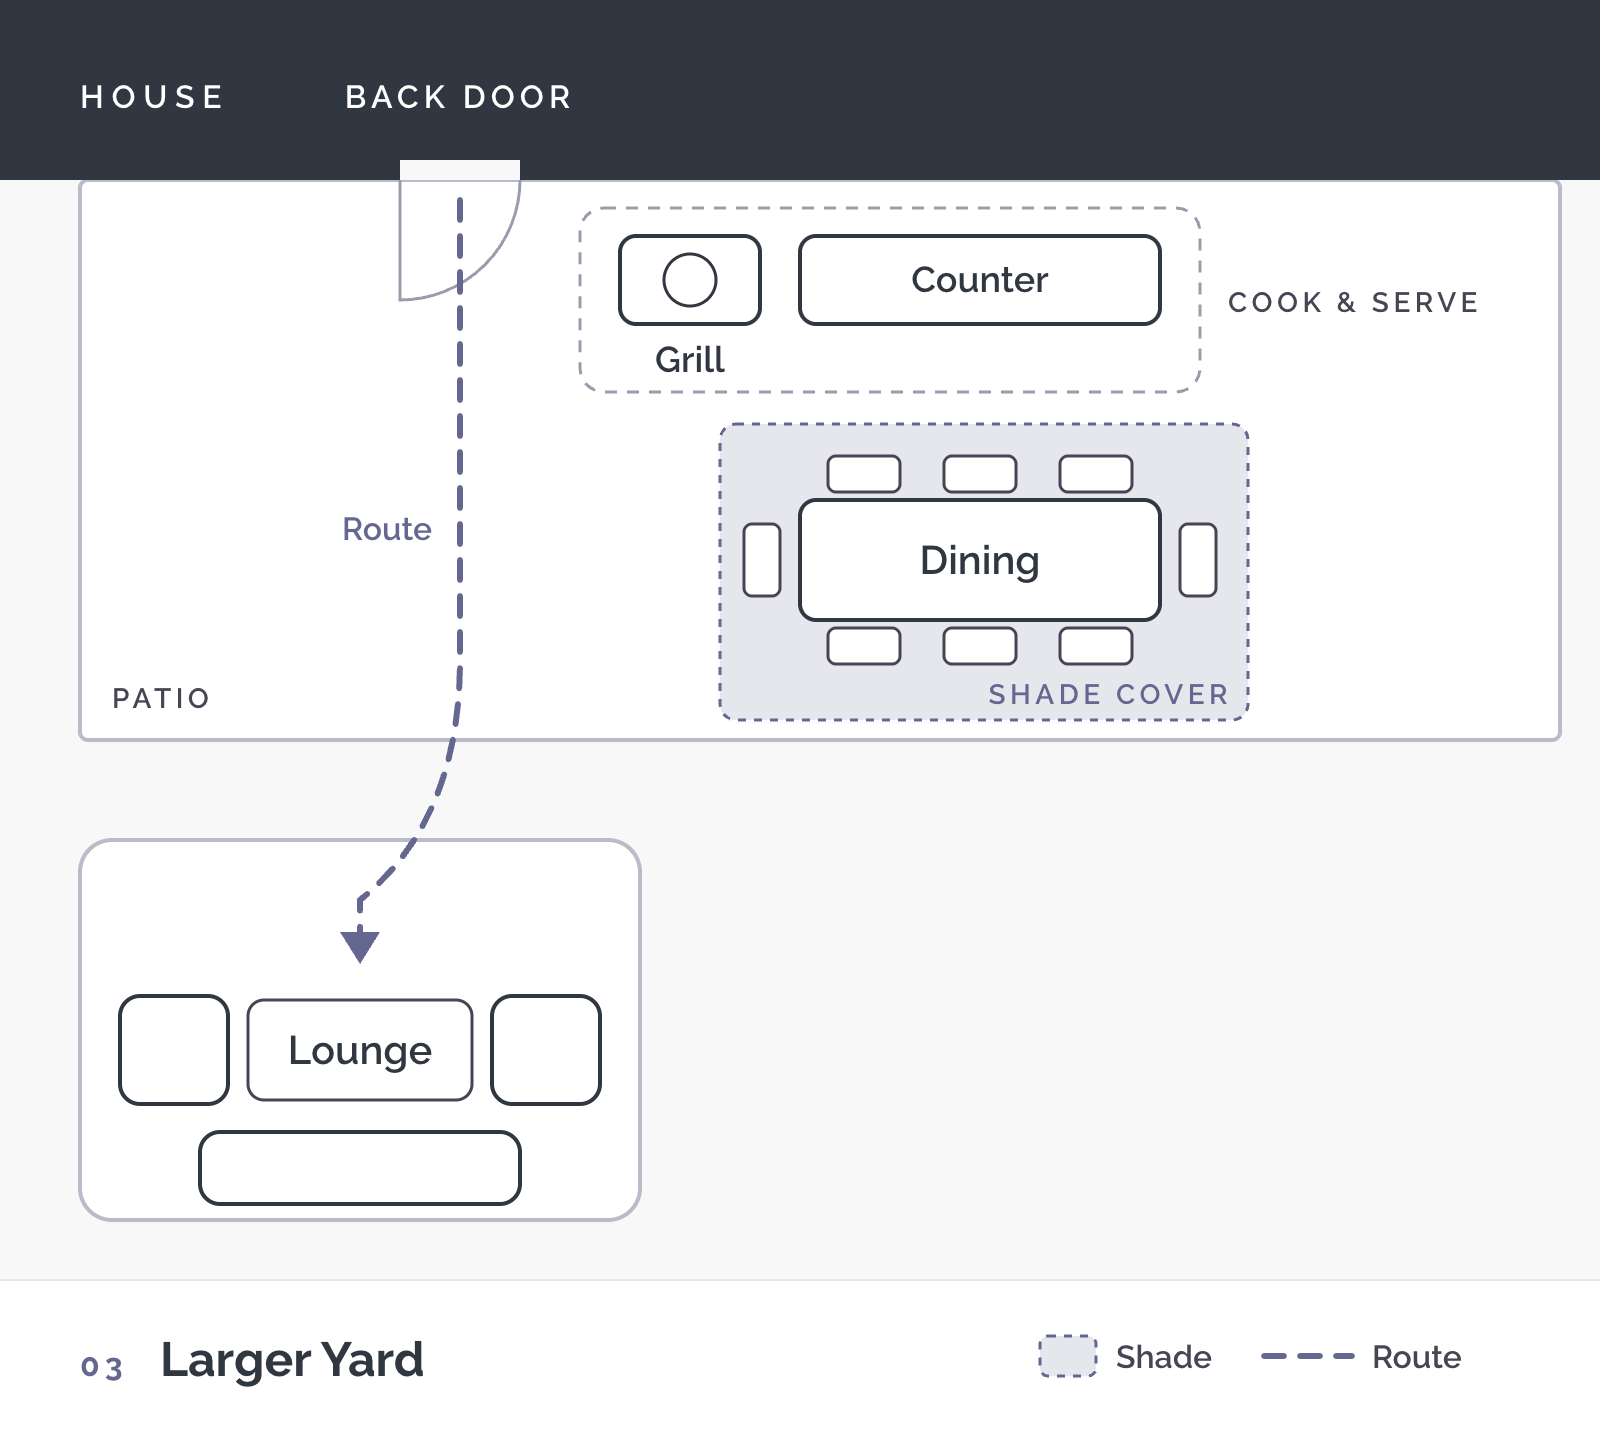
Larger Yard: Overhead floor plan of a larger yard showing a separate cook and serve zone, a shaded dining area, and lounge seating set away from the food route
Our roof systems offer different experiences over seating areas. Choose around how you want to use the space.
Test your patio furniture layout at full scale:
For additional exposure planning, the U.S. Naval Observatory solar-position tool provides solar altitude and azimuth—the sun’s height and direction—for a location and date at selected time intervals. It supplements observation; it does not evaluate your obstructions or replace professional site assessment.
Photograph the mock-up from the doorway and from seated height. These views can reveal a blocked garden view or an awkward approach that was easy to miss on a sketch.
Tell us about your project, and our certified local dealer will provide a tailored quote with the best options—no commitment, just expert guidance.
A successful backyard entertaining layout supports your routine: food reaches the table easily, guests move around occupied seats, and shade serves the places people gather.
Start with those relationships, then select furniture and coverage that fit. To discuss your site and priorities with a local Azenco dealer, find a pergola contractor near you.
Arrange your backyard around cooking, serving, walking, and sitting before choosing furniture. We recommend identifying the main route from the house, establishing a suitable grill location, and keeping occupied seating outside that passage. Then evaluate shade during your normal hosting hours rather than designing around an empty patio.
Put your grill in a location that meets its manufacturer’s requirements and offers a practical serving connection to dining. We suggest keeping the cook’s workspace separate from guest circulation. The shortest possible distance is not always the best choice when heat, smoke, seating, doors, or required clearances create conflicts.
Leave enough room for your actual chairs, seated guests, and necessary movement around the table. We recommend testing the arrangement with chairs pulled out and the table extended. Include door swings and individual mobility needs; a tabletop measurement alone cannot tell you whether the dining area will work comfortably.
Shade the area where sun most interferes with your regular gatherings. If you usually host daytime meals, dining may take priority; if afternoons center on conversation, the lounge may matter more. We recommend checking both areas during actual use hours before deciding whether one roof or separate coverage makes sense.
Sometimes, but it depends on the grill, not the pergola. Side and rear clearances are stated as numbers, while overhead is usually a flat prohibition rather than a distance. Weber’s gas grill guide requires 24 inches from any structure or combustible material and prohibits use beneath overhead combustible construction. Napoleon’s Prestige 500 calls for 20 inches at the rear and 7 inches at the sides, with 24 inches more near vinyl siding or glass, and the same overhead prohibition. Built-in units can differ: Lynx permits overhead combustible construction only with an exhaust hood of at least 1,200 CFM overhanging the grill by 3 to 6 inches on every exposed side. So check three things before planning a covered cooking area: the side and rear clearances your model states, whether the manufacturer permits overhead coverage at all, and if so under what ventilation. An open-louver roof moves more air than a solid one, but ventilation does not substitute for a stated clearance, and whether a noncombustible aluminum roof satisfies a given manual is a question for that manufacturer. Bring your grill model to the conversation with your dealer so structure height and roof type can be planned around it.
Fit both functions by prioritizing your main activity and using furniture that leaves workable circulation. We suggest testing a dining table with a smaller pair of lounge chairs before choosing a large sectional. Movable pieces can support occasional guests, but extra seats should not consume required grill clearances or block access.

Leslie oversees sales and marketing at Azenco Outdoor, with a focus on modern outdoor living solutions.